- Published on
Project Wasp Killer
Lasers vs Wasps: Summary of the Wasp-Killer project
- Authors
- Name
- Mr. Goferito
- @Mastodon
Summary of the project
Este post fué escrito originalmente en Español. Click aquí para la historia original completa.
This is a TLDR of the project, with links to the original posts with each episode. Less technical, more pictures, and less text.
Summer 2018, the inception of a crazy endeavour. Trying to have a peaceful sunny lunch with Master Ray after another hard-working morning in Versus, wasps are annoying the hell out of me. They steal my food!! Powerless, watching them getting away with it, I start fantasizing about devices that could keep them away. A while ago I read about a project that keeps mosquitoes that may carry malaria away using invisible fences, created between two laser towers. When a mosquito crosses the fence, the laser burns its wings. We are living in the future.
A few days after, news from homeland: the invasion of Asian wasps in Galicia (and more places in the north of Spain) already killed half the bee population. Even two people died from their evil stings! People beg to the sky for laser towers to appear, but nobody seems to listen.
So, an impossible project. I like it. I start researching and thinking about possible designs. The malaria fence is high-tech. It can detect bitter mosquitoes from the shadow they cast, and in the few milliseconds that they need to cross that thin laser fence connect the laser full power to burn their wings. Really high tech. Too much outside of my budget.
I decide to go for image recognition of the bug on a camera, and a laser that can aim at it when detected.
First step, I buy this thing on eBay to aim the laser:
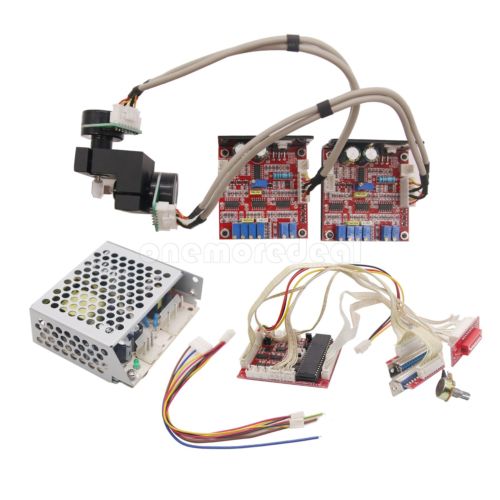
But I know nearly nothing about electricity. I can't manage to make it work. I don't even know how to connect it. Fail.
So I decide to start with the basics of electricity and electronics. On Christmas 2018 I get an Arduino learning kit. I learn Arduino basics. First lesson: How to power an LED:
Then I learn about servo motors. I will try to replicate the device I got from eBay to aim the laser, but using servo motors and attach them mirrors. 3D printing to put everything together also sounds like an awesome idea. So I buy some small mirrors, laser diodes, and all the pieces for a 3D printer.
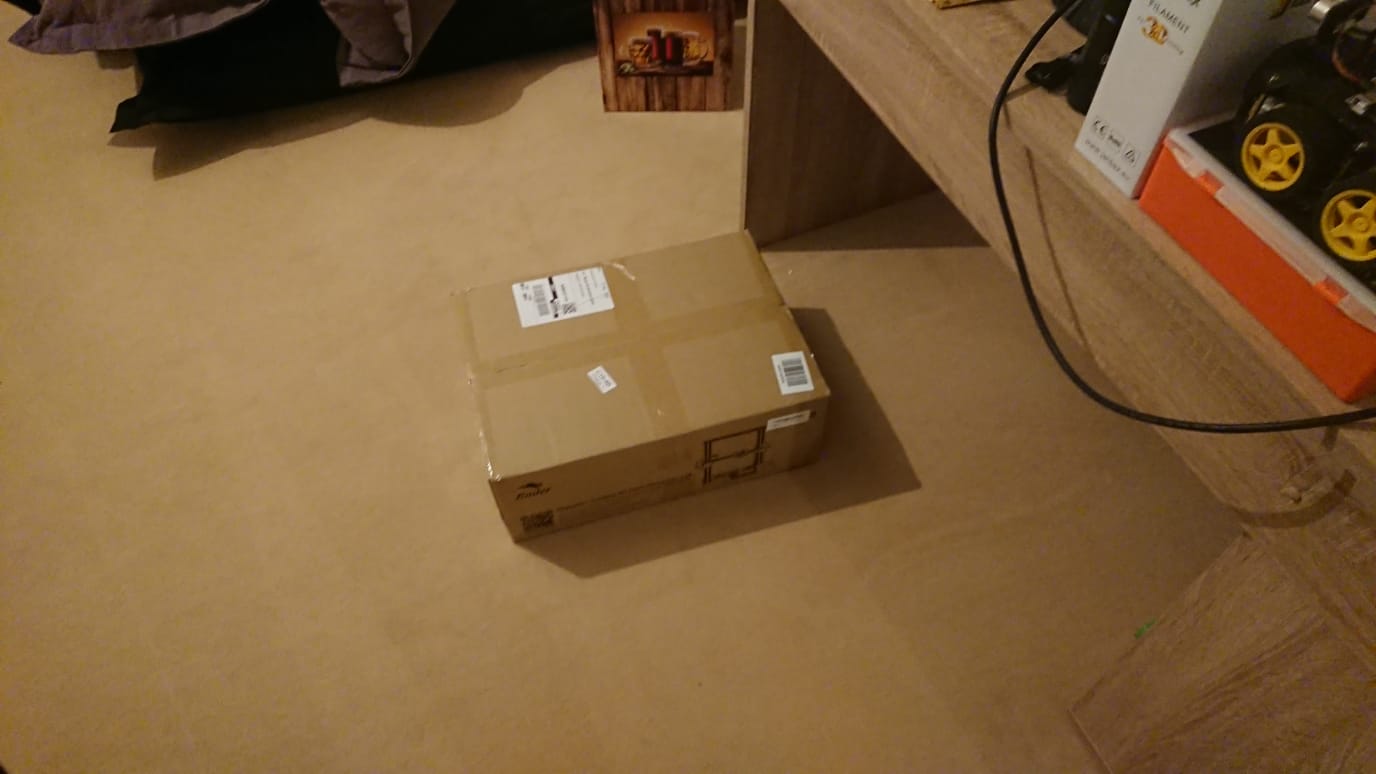
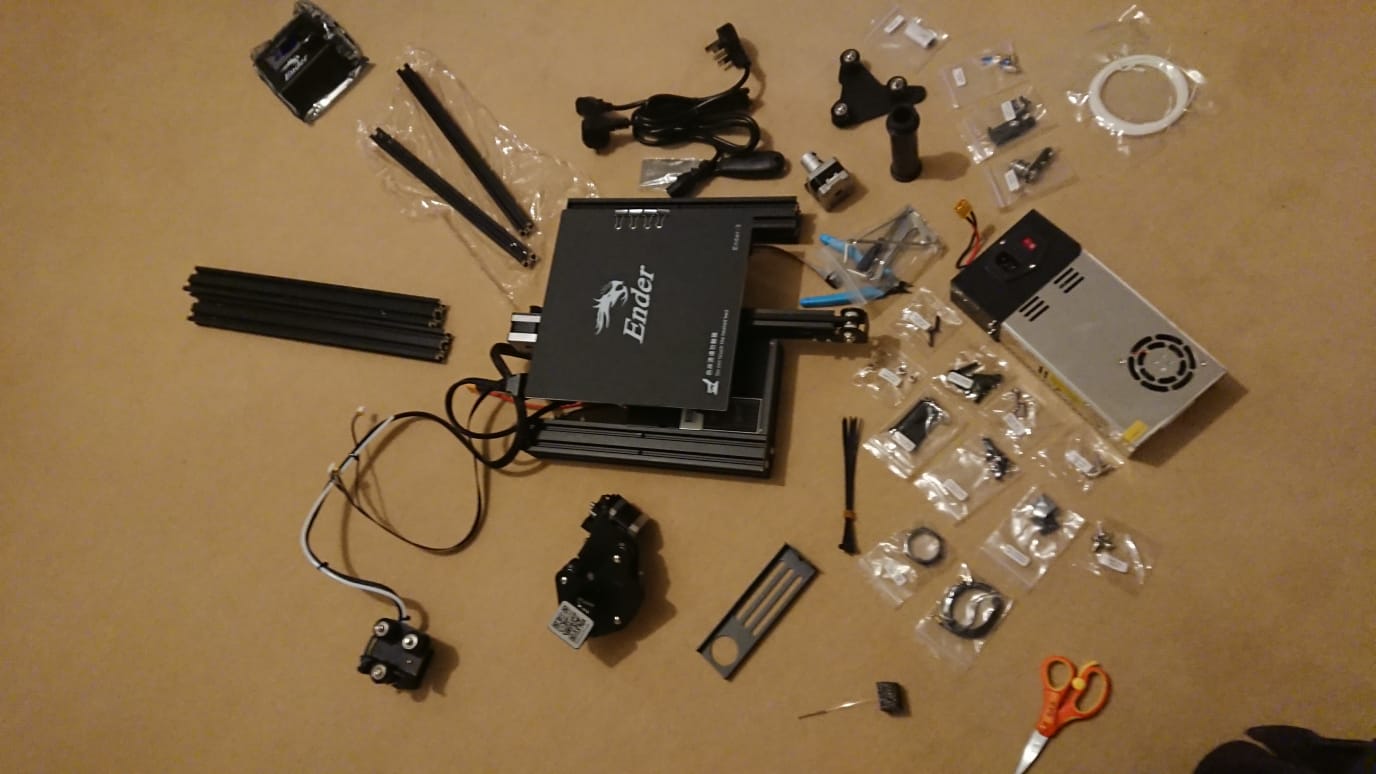
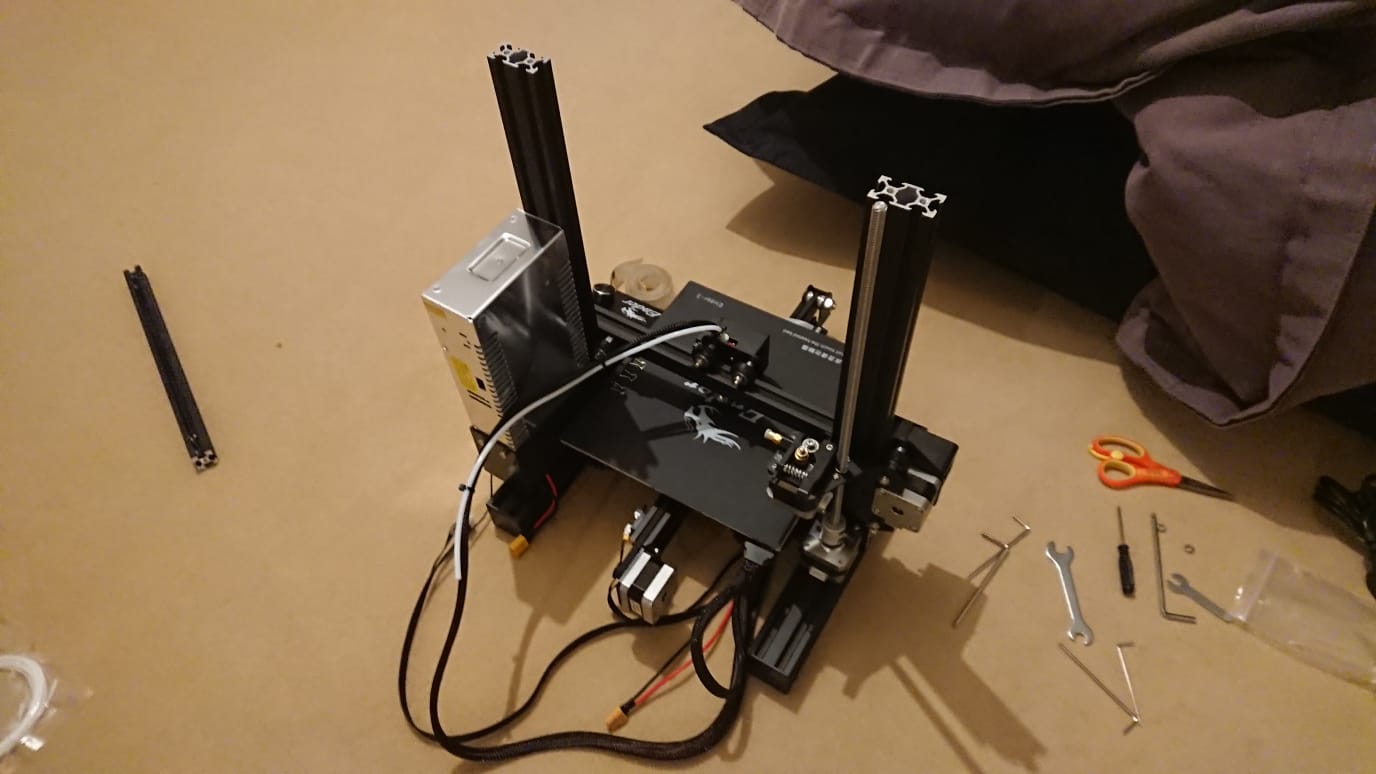
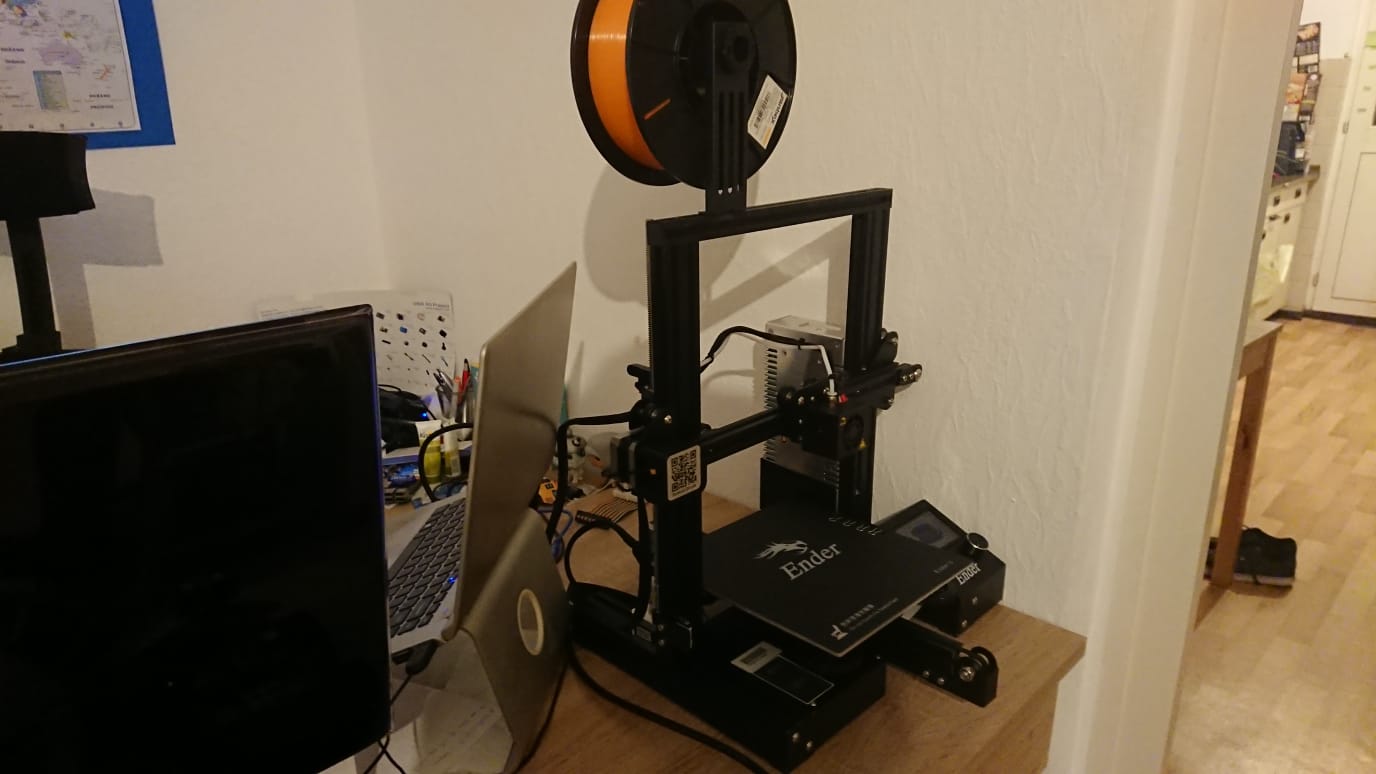
Then I learn how to do 3D design, how to prepare 3D models for printing and how to configure and use the 3D printer. Then I successfully print my first geometric figure:
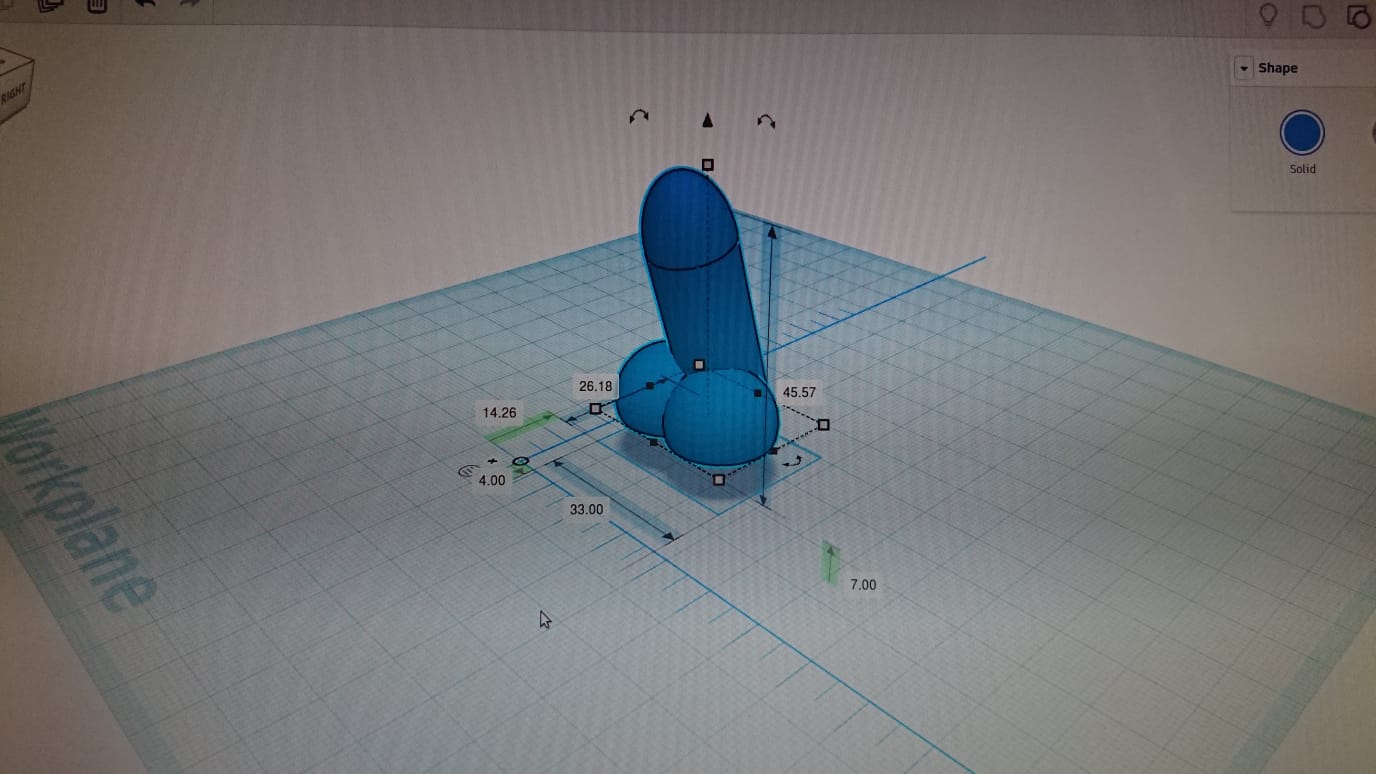
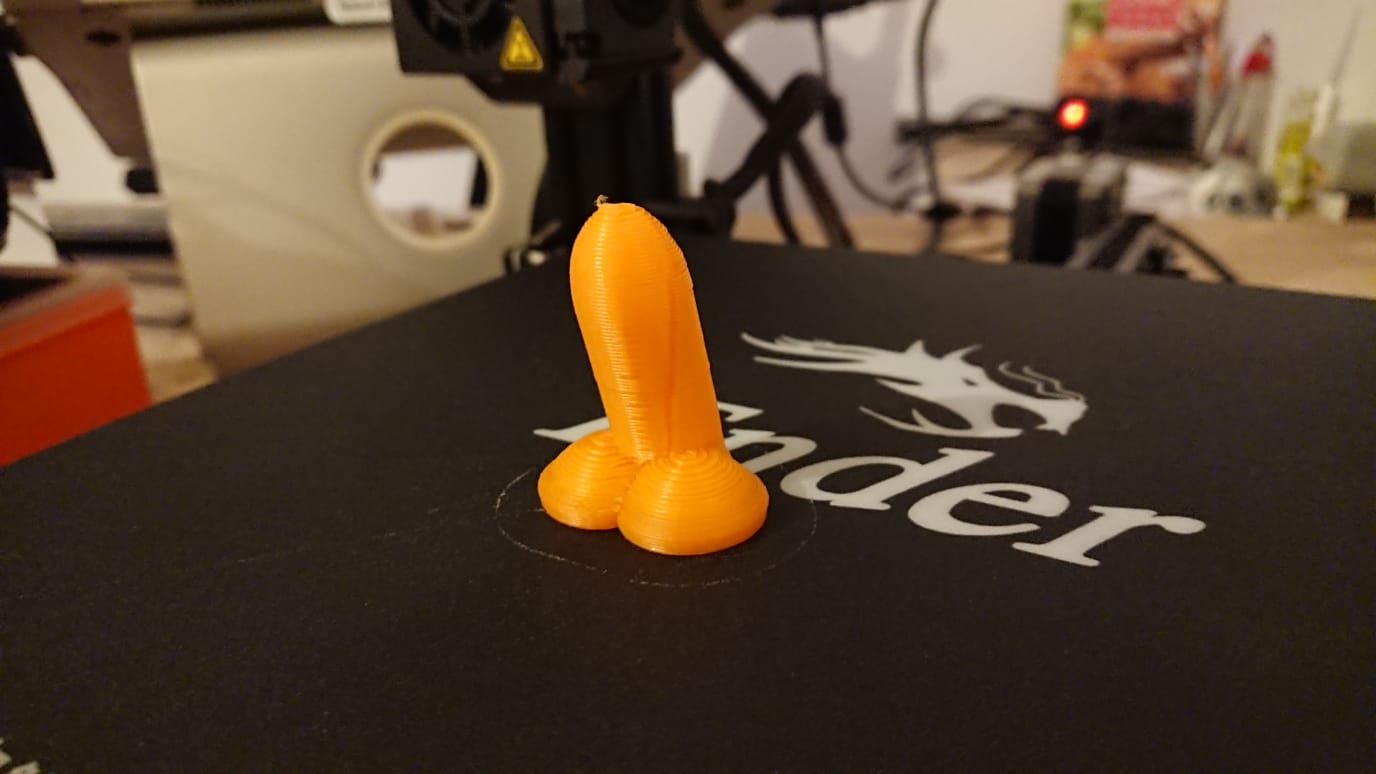
Fucking awesome! We really are living in the future.
This is fun. Let's now use all the new knowledge to design and print the structure of my first laser aiming device.
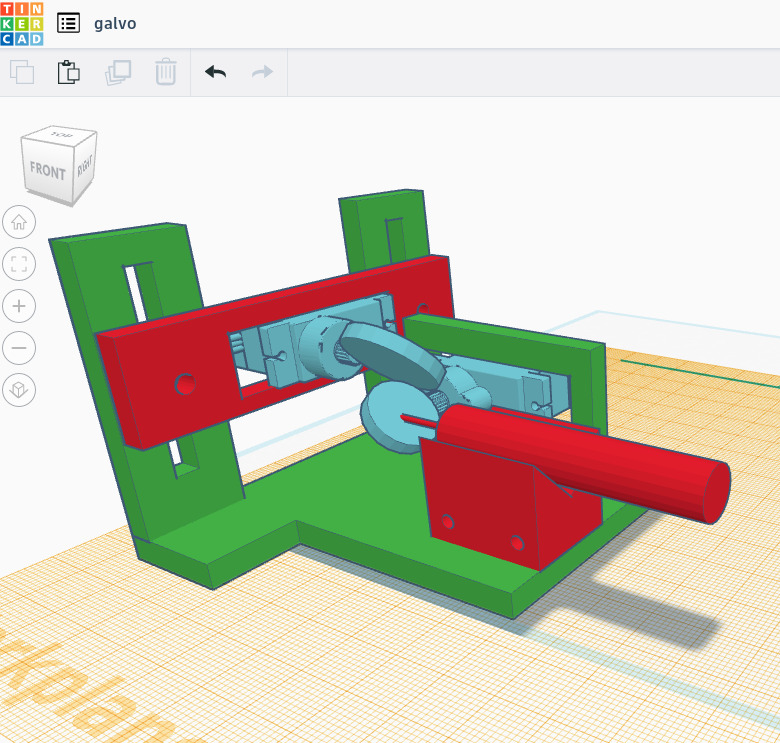
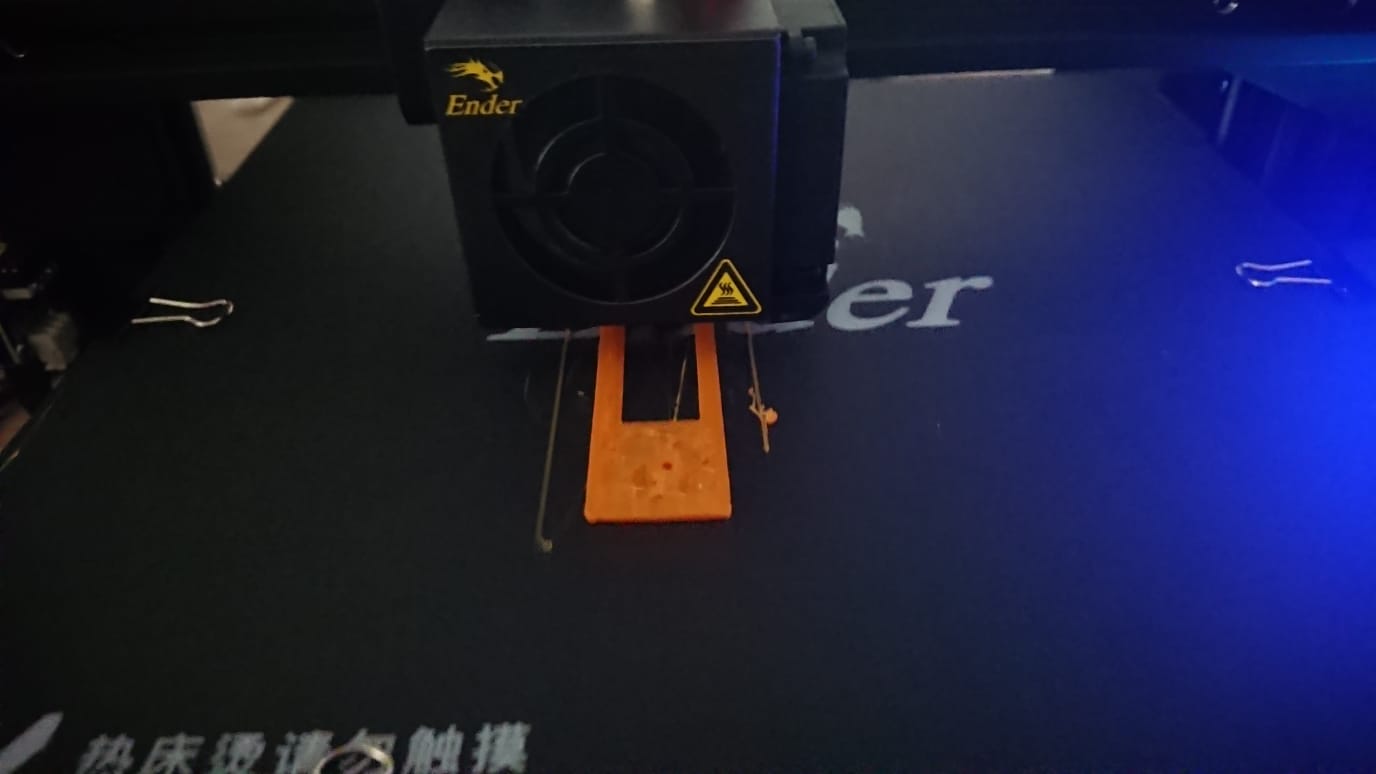
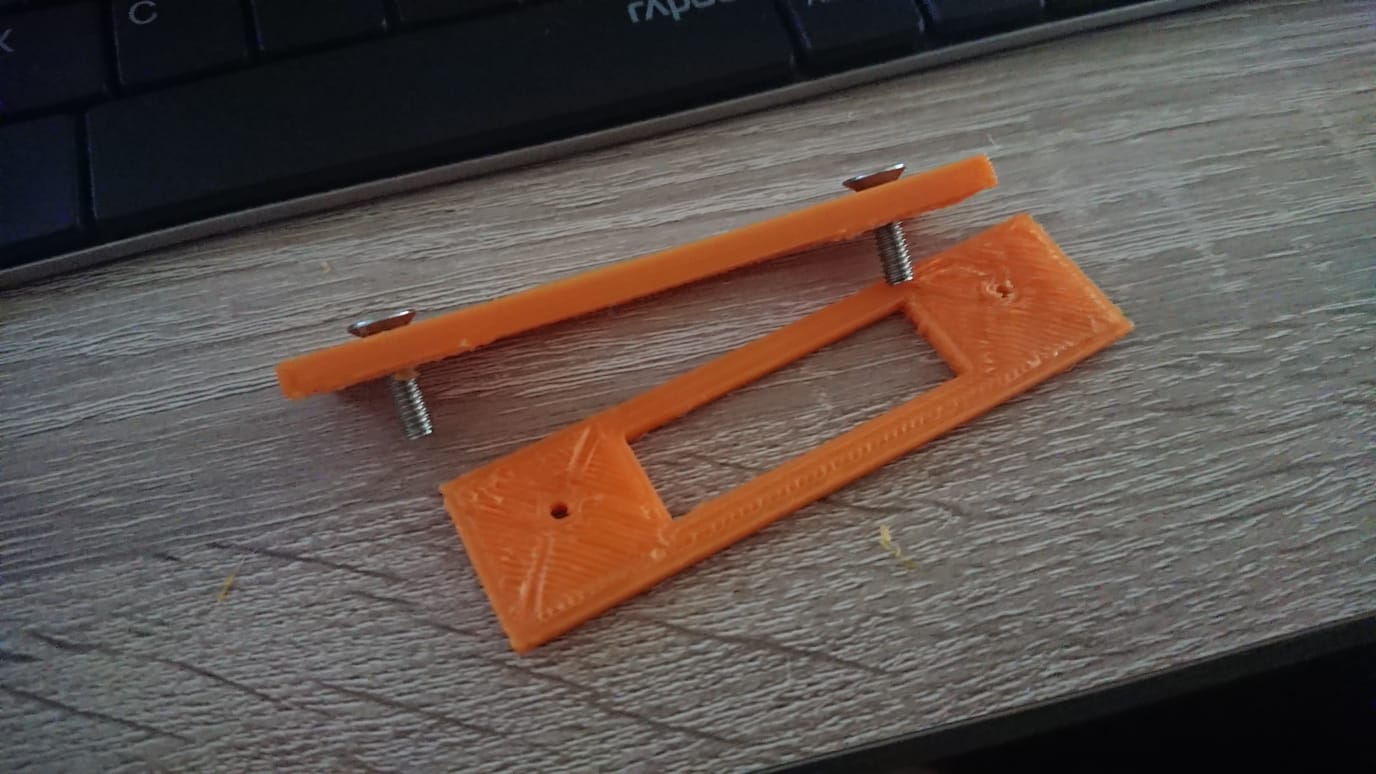
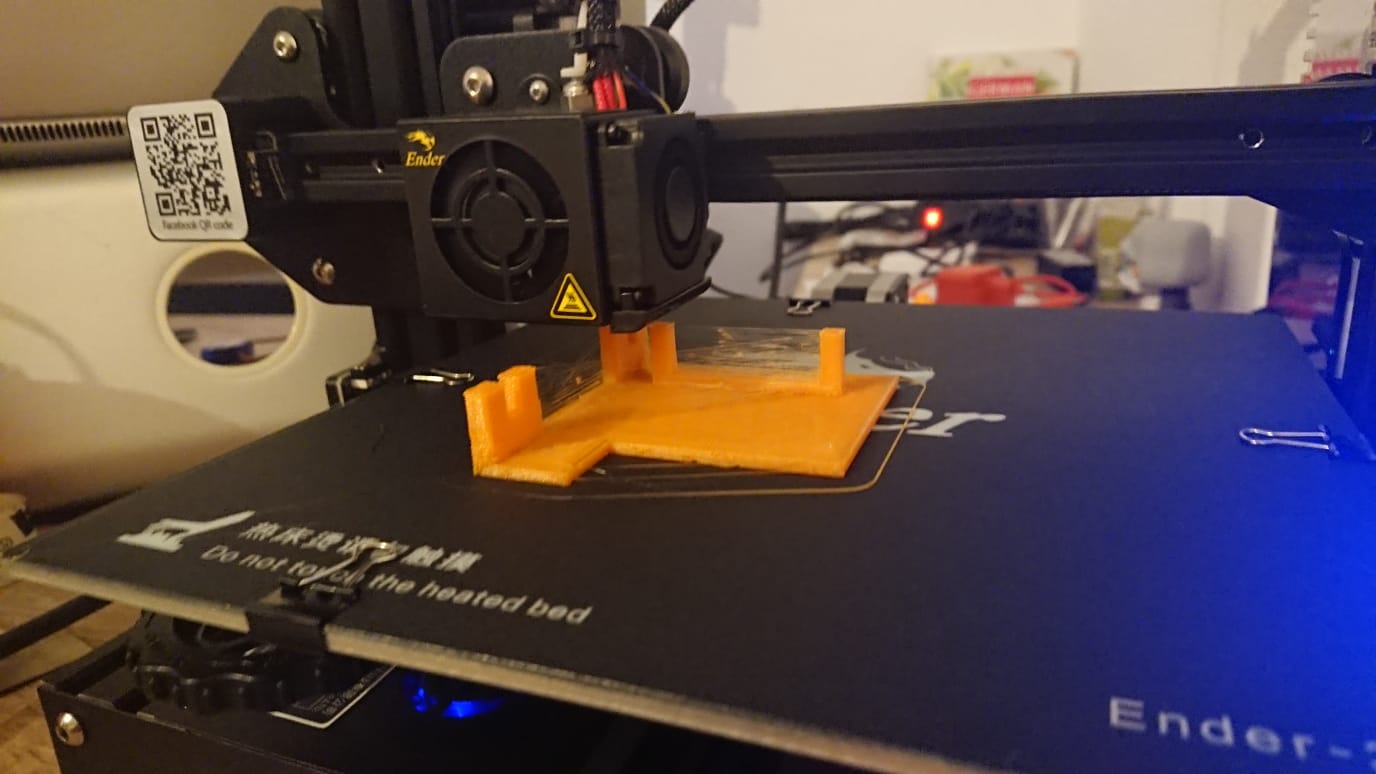
Now put the electronics together, glue some mirrors, tape a laser and align everything up, and voilá, a low-cost laser aiming:
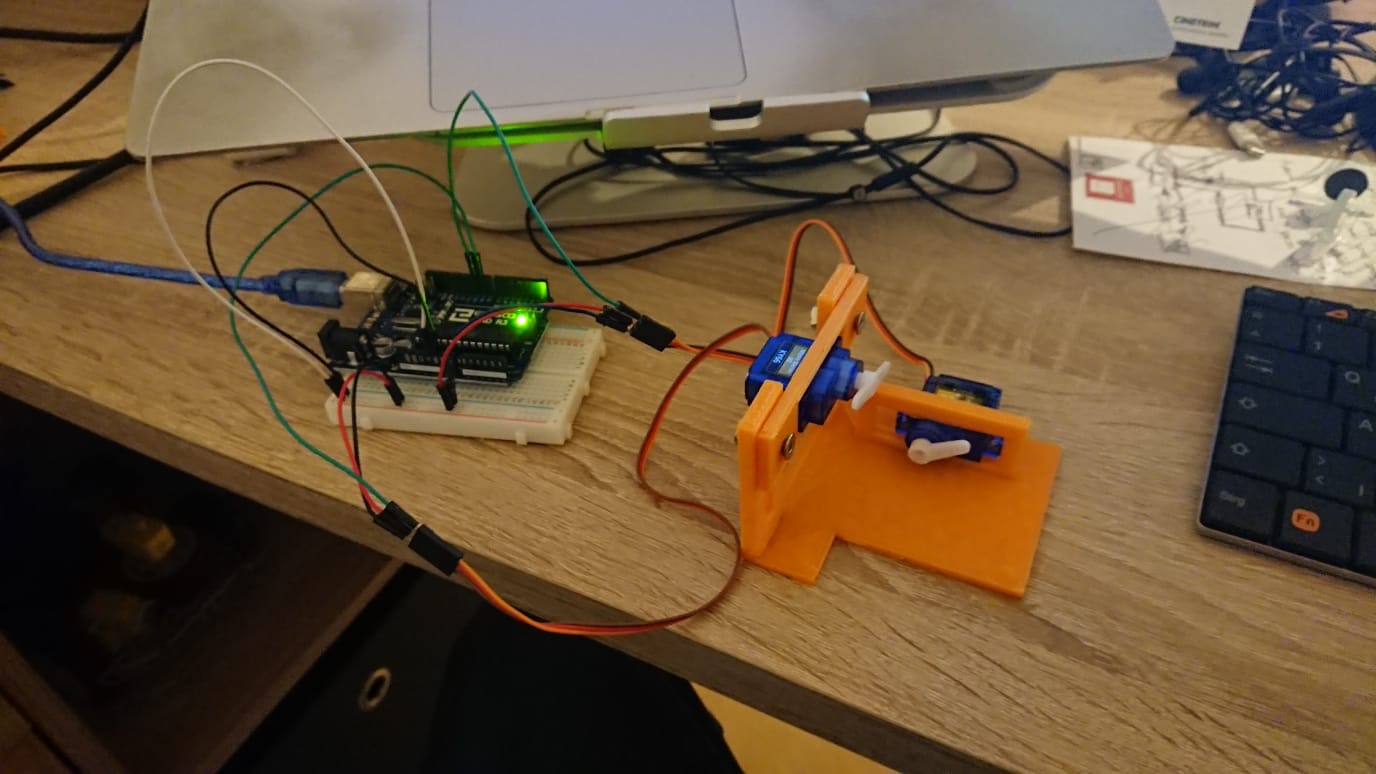
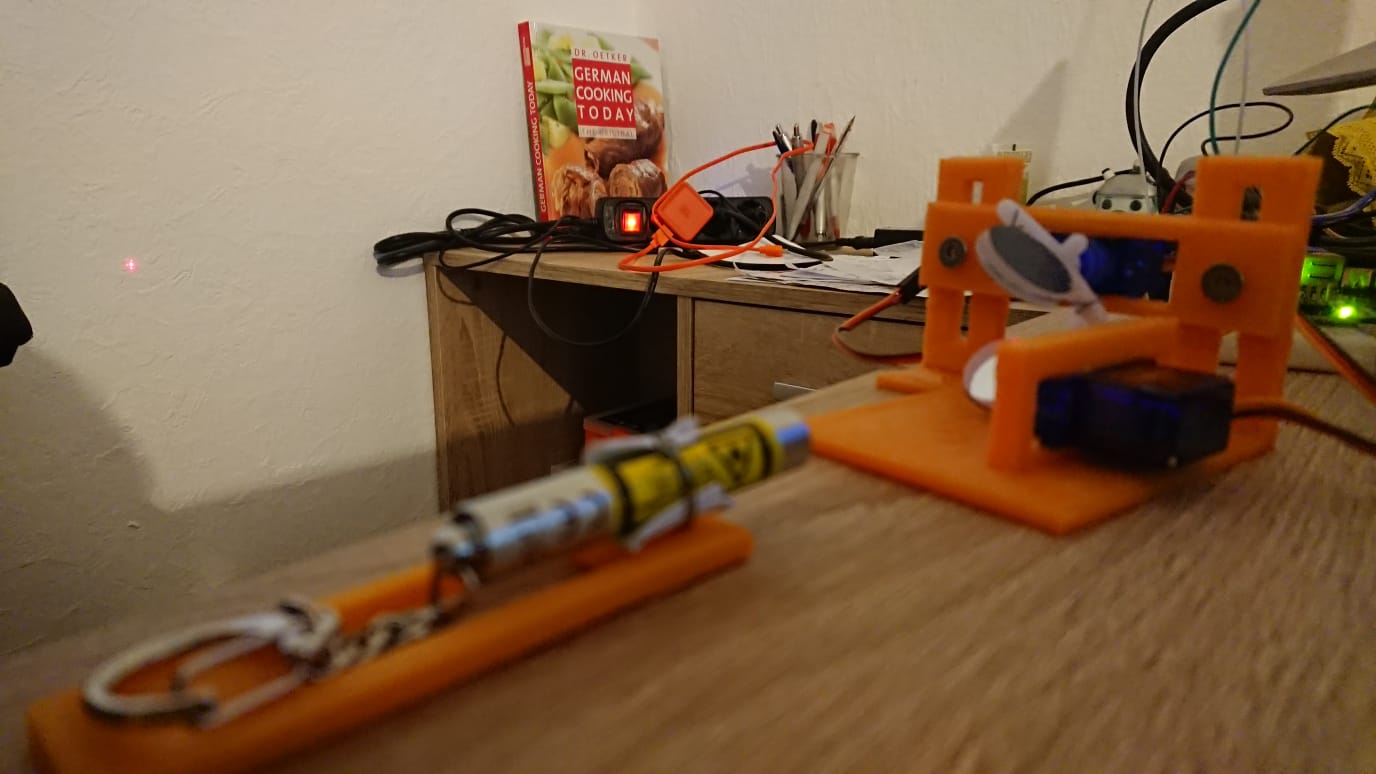
I do some Arduino coding to control the servo motors, so the laser bounces properly on the mirrors, aiming the laser pointer on the wall. And it just works!
Kinda works, but if the mirrors, or the motors, or the laser move a little bit then the whole thing is not aligned and it doesn't work well anymore. It's very difficult to work with it. I need something more simple.
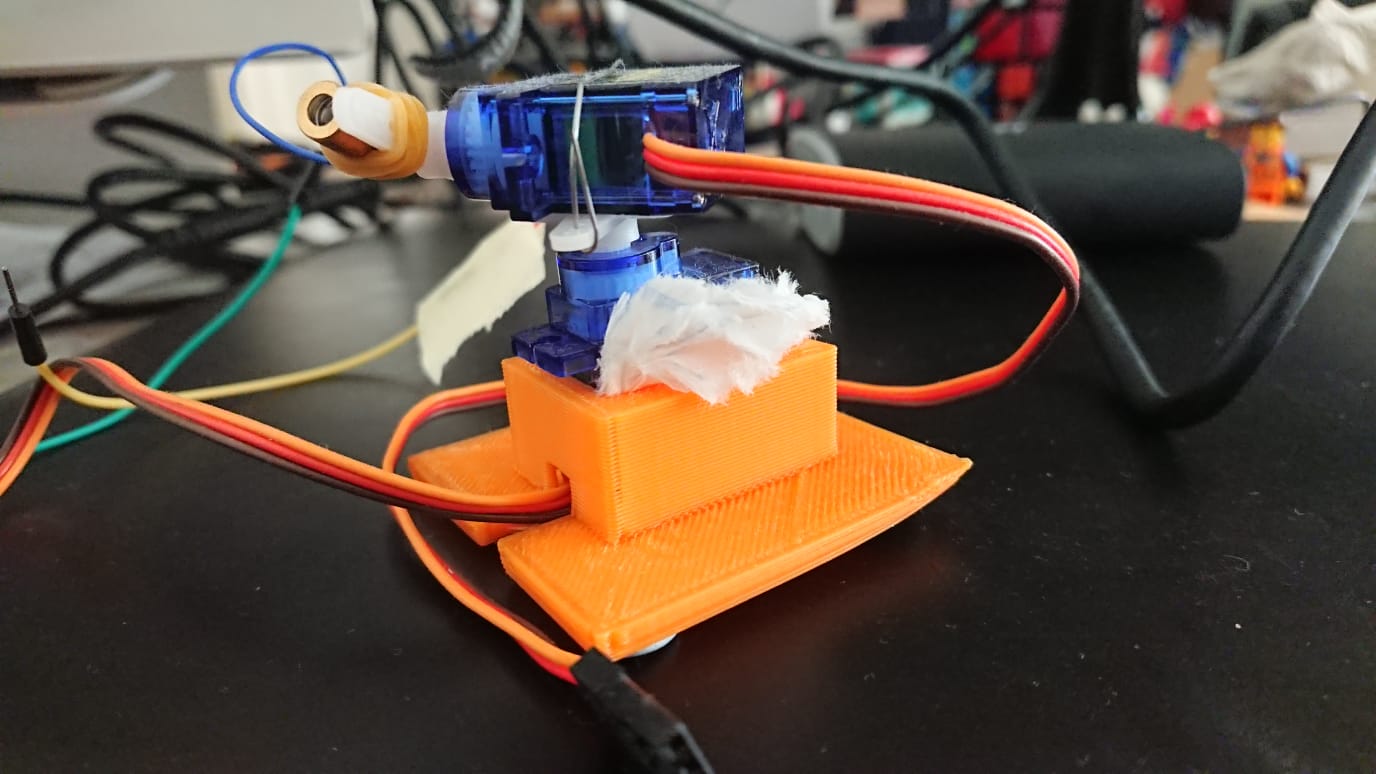
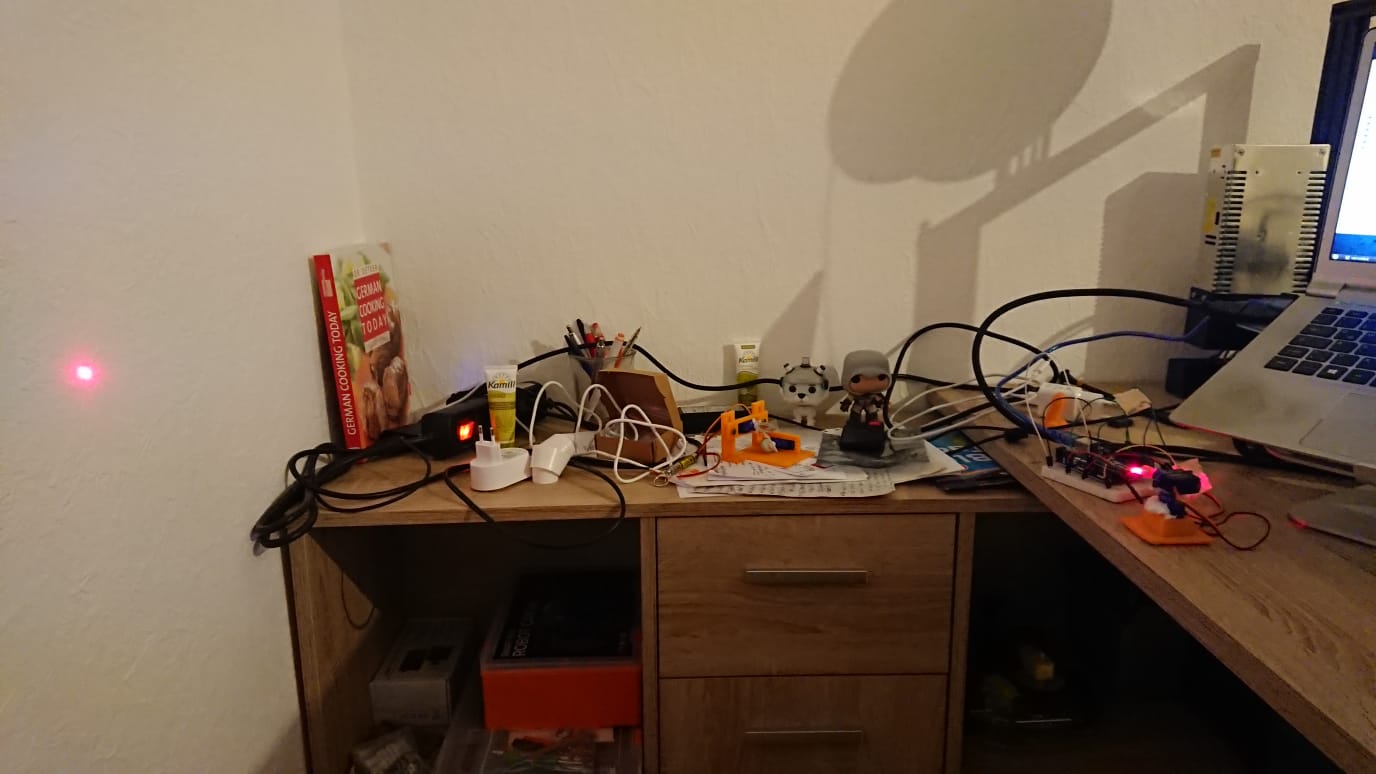
I come up with a way more simple design where the servo motors are just mounted on top of each other, and the laser diode is just taped in place.
I print it, write the coding for the Arduino controller, and it works again!! An even lower-cost laser aiming:
Ok, moving the laser works. Time to know where to aim!
Most tutorials on the topic are for Python, so I decide to learn some Python. I learn a bit about OpenCV for Python, a library that allows working with images. I use the knowledge to make a small program that tracks objects with the same orange color of my 3D prints, and uses my webcam as the input for images:
Nice!
Now, for the aiming test I make another small program that:
- finds the laser pointer in the image and draws a circle around it
- when I click on the image sets that as the target and draws a small blue dot in the image to see where the target is
- sends the commands to the motors to move the laser pointer closer and closer to the target point:
Works, but works like shit. It's too slow. Wasps are not going to be that patient.
After hours of investigating I learn that servo motors intentionally ignore small changes and only move after a minimum change is requested. So I cannot use them to aim with the level of precision I need for such small targets.
What now? I can think of 2 solutions:
- Try with better servos. The servo motors I'm using are 2 euros each. Maybe higher quality servos can move in smaller steps.
- Try with stepper motors, but I'd need to learn how stepper motors work.
I decide to go for option 1, and get two different metal-gear servo motors, 17 and 18 euros each.
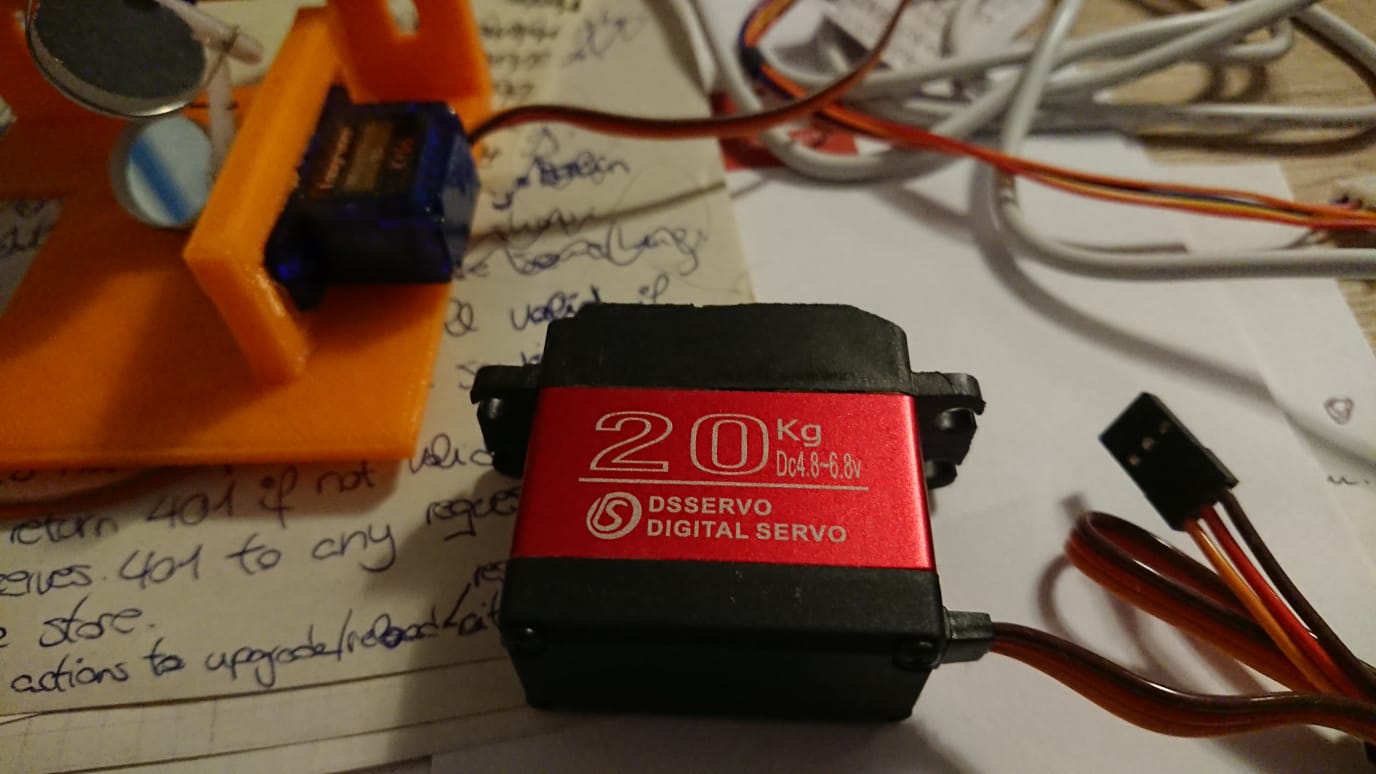
These servos are a lot more powerful, so I need to pause and learn how to connect them properly or they could burn the Arduino controller. Then I run some tests and they are a bit more precise than the cheap ones, but far from the level of precision I'd need if the wasp is more than 50cm away.
Another failure to the list.
What now? As our friend Yeesus used to say: Man shall not live by servos alone, but by every motor that comes from the mouth of God. So I go and learn how to use the step motors. This is what a step motor looks like:
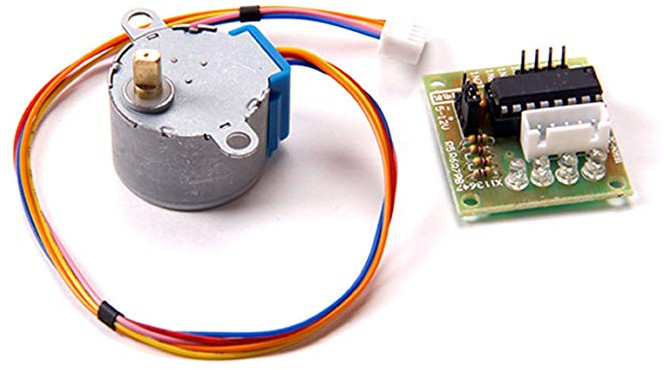
I have a step motor included in my Arduino learning kit. This model needs the motor connected to that external controller. I use it to run some tests and... Yes! The minimum step is now a lot smaller, so I have a lot more precision when aiming with the laser. At least on short distances this solution could work. My ball of hope is full again.
I print new 3D pieces to put together the same turret idea but using step motors instead:
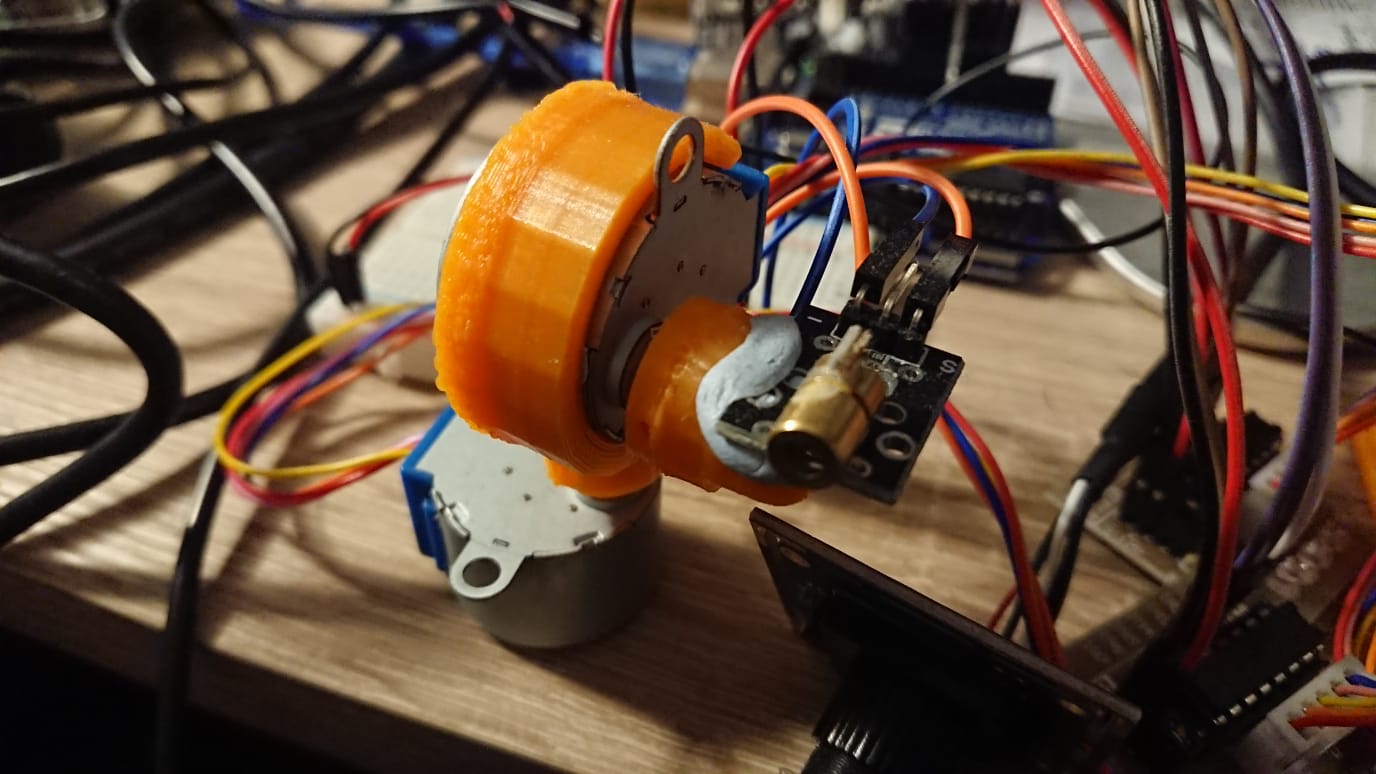
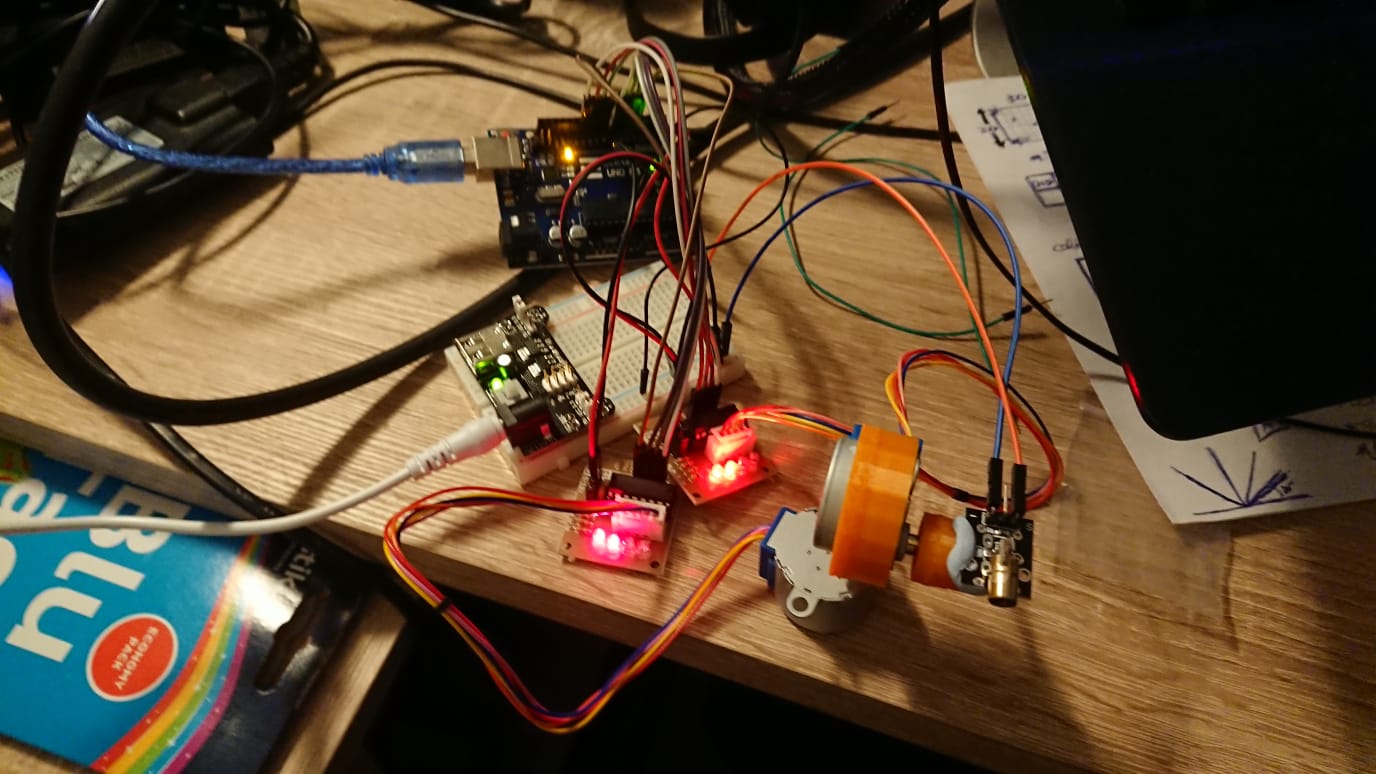
And the external controllers for each motor (the things with LEDs) make it look even cooler than the version with servos. Nice.
Time to make it work: I write the small corresponding program, compile it for the Arduino board and:
Works, but, only for a few seconds. It turns out that the power controller heats up, that much that I can barely touch it, then it's when everything starts misbehaving. Here I decide to take a break to learn a bit about electricity. (matrix) Done. Now I know what a current is. My problem is that the power supply cannot handle the current that the motors need.
The motors need 5 volts. From former creations like my USB ventilator or my USB Christmas tree, I know that USBs also work with 5 Volts. I decide to sacrifice a USB charger to replace the Arduino power supply, and connect power and ground directly to the breadboard (the white thing with holes) to power the motors:
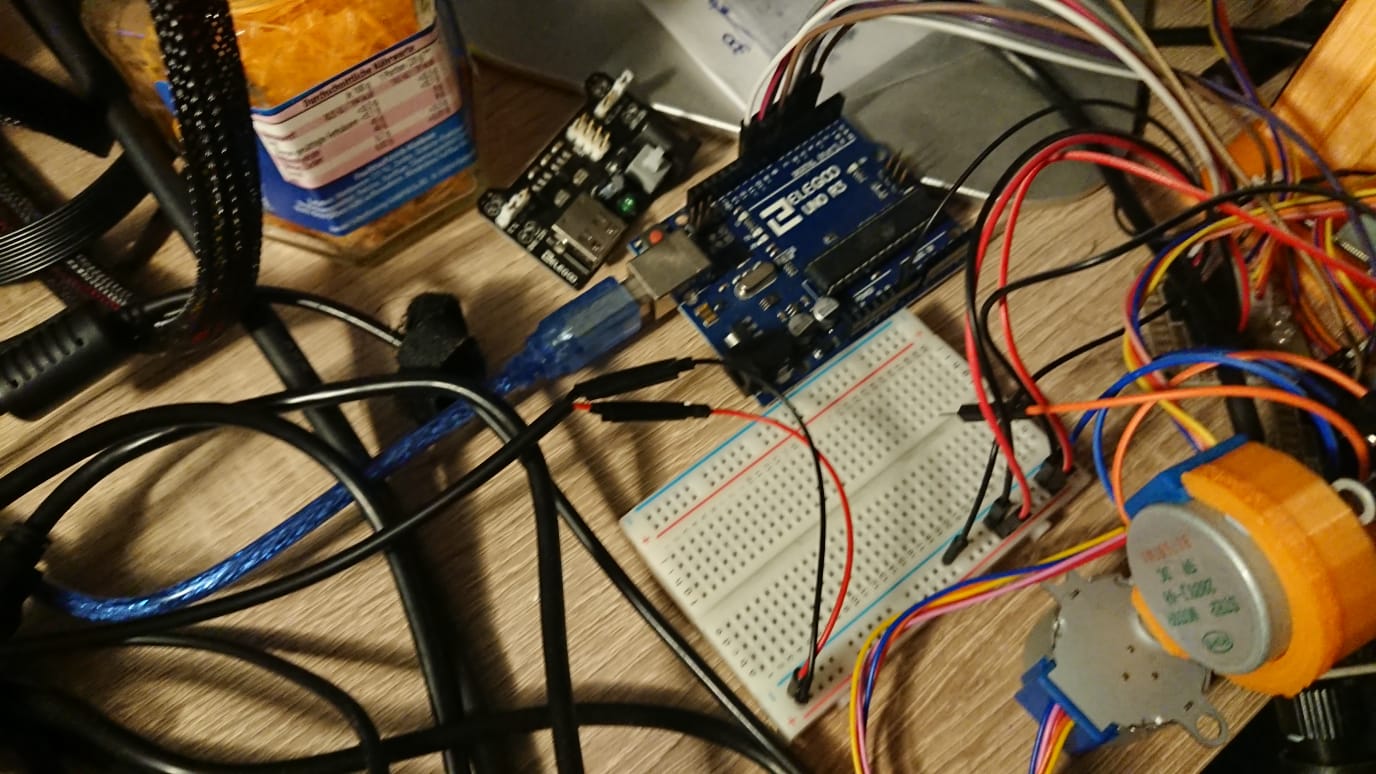
:sunglasses: Works like a charm!
Let's now work on the aiming. I need to be able to distinguish wasps from bees, and "good" wasps from Asian invasor wasps. Working with bugs comes with a lot of complications, so to keep it simple for now I decide to start using legos. They look similar to each other, just with different colors. I introduce you to (ESEI pun intended) Fulinito and Menganito:
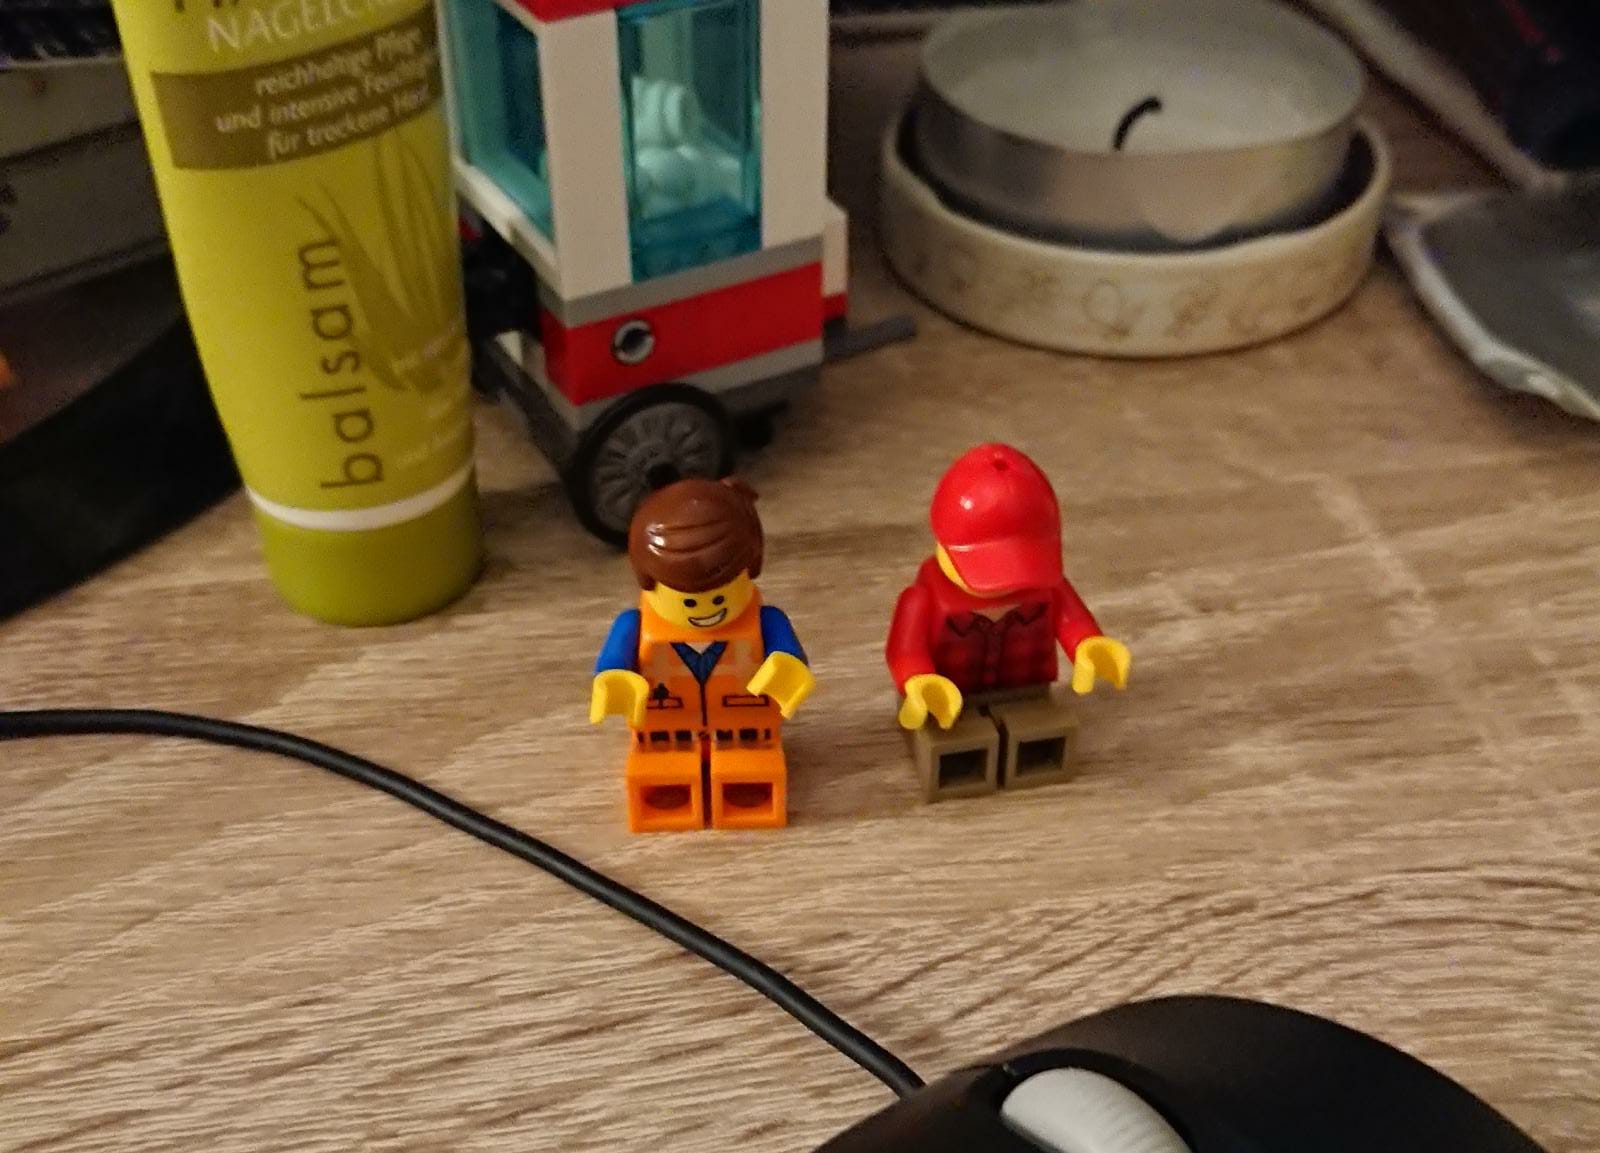
Fulinito is the red shirt guy. Menganito the one on the orange coverall.
I invest quite some time learning about deep learning, to find objects in images. Then I create a dataset with 200 images of Fulinito and another 200 of Menganito to train an AI model that can recognise them. After some failures, hours of hitting my head on the table, and a week of model training, I finally get a neural net able to recognize Fulinito & Menganito pretty well:
The number next to the name is the probability that the recognized object really is the recognized object. As you can see, it works amazingly well.
We are living in the Future.
Time to put things together! I write a python script that uses opencv to detect Pickle Rick on the camera, and control the stepper motors to aim the laser at him:
There is some delay in the aiming. But if you think about what is happening: When I move Mr. Pickle Rick, my laptop gets the image in the camera (USB camera delay), passes the image to OpenCV to process and find Pickle Rick (computing delay) setting its coordinates as the target. Then it also looks at where in the image the laser pointing is, calculates the distance it needs to move the pointer, and how many steps it needs to move the motors. Sends the moving command to the Arduino controller (more USB delay). Then the Arduino needs to process the command and turn the motors as many steps as indicated in the command (mechanical delay). My laptop cannot handle more than 13 FPS to do all that.
This is another test where I try to calculate the direction of Pickle Rick to move the laser faster:
Sure, there may be more room for improvement, but for a first prototype, in my humble opinion, it works pretty decently.
The drama now is that it only recognises objects when they are close enough to the camera. Makes sense, the resolution is not super high, and if the target (a Lego or a wasp) is a bit far away, the target is represented in the image only with a few pixels. Not enough resolution to distinguish them. With real wasps it's going to be even more difficult.
I can think of 2 solutions for this:
- Use a higher resolution, but this increases the amount of computation needed for each image. With the current resolution my laptop can only process 10-13 images per second. A quick test with higher resolution gives me only one or two images per second. That's not acceptable to aim for a moving target. I'd need to get a more powerful computer to make it work.
- Use a camera that can (optical) zoom into a possible target. This way, if I detect a new element in the image, I can zoom into that element, then have a big enough picture of the bug. The problem with this option is that a camera with optical zoom, and moving (pan-tilt) capabilities is over a thousand Euros. Out of my budget.
I decide on option 2, but making my own camera. So I get a cheap camera with manual optical zoom. Then design and print a piece that holds the camera together with two stepper motors, and glue the motors to the camera using some belts. Looks like this:
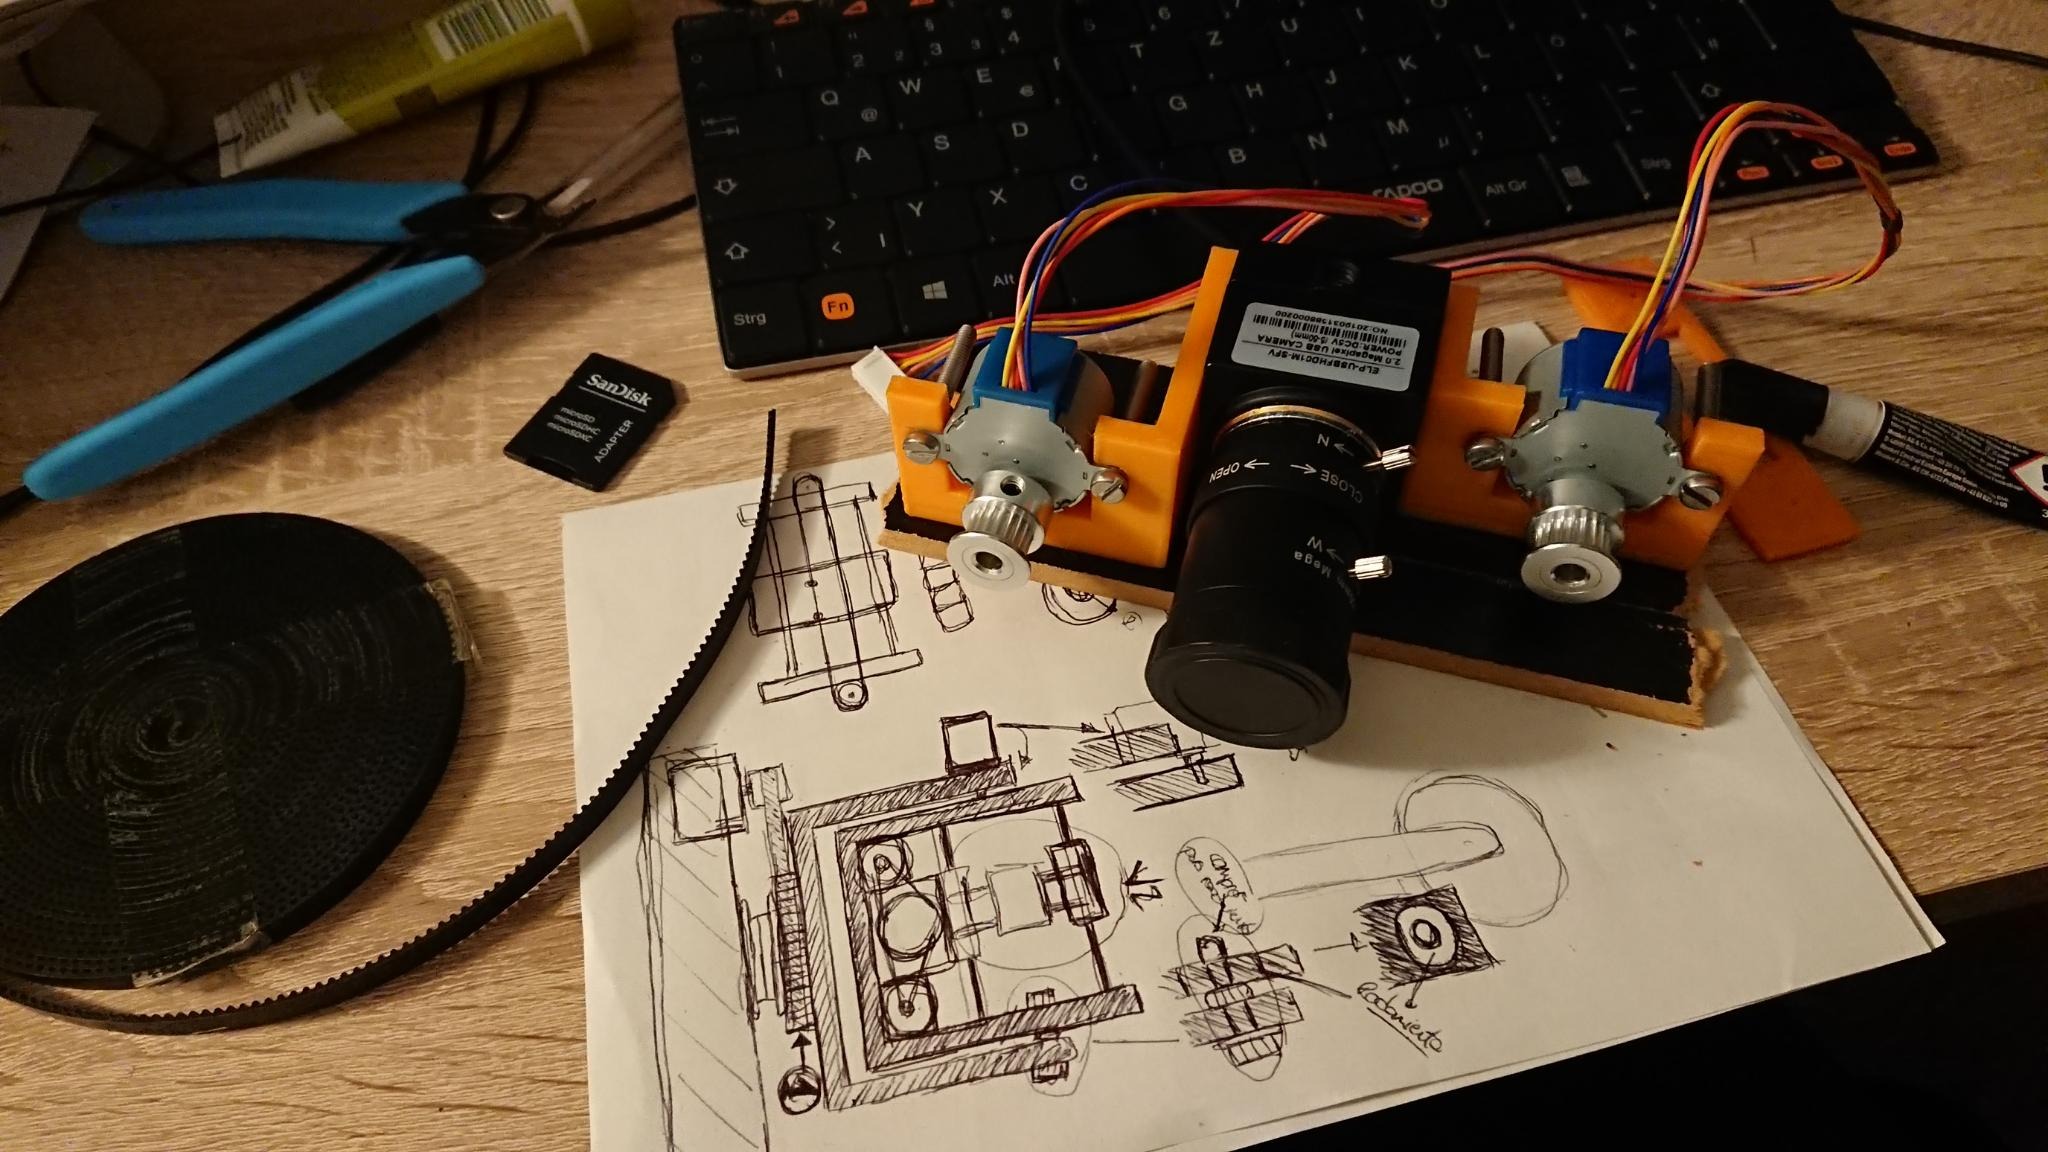
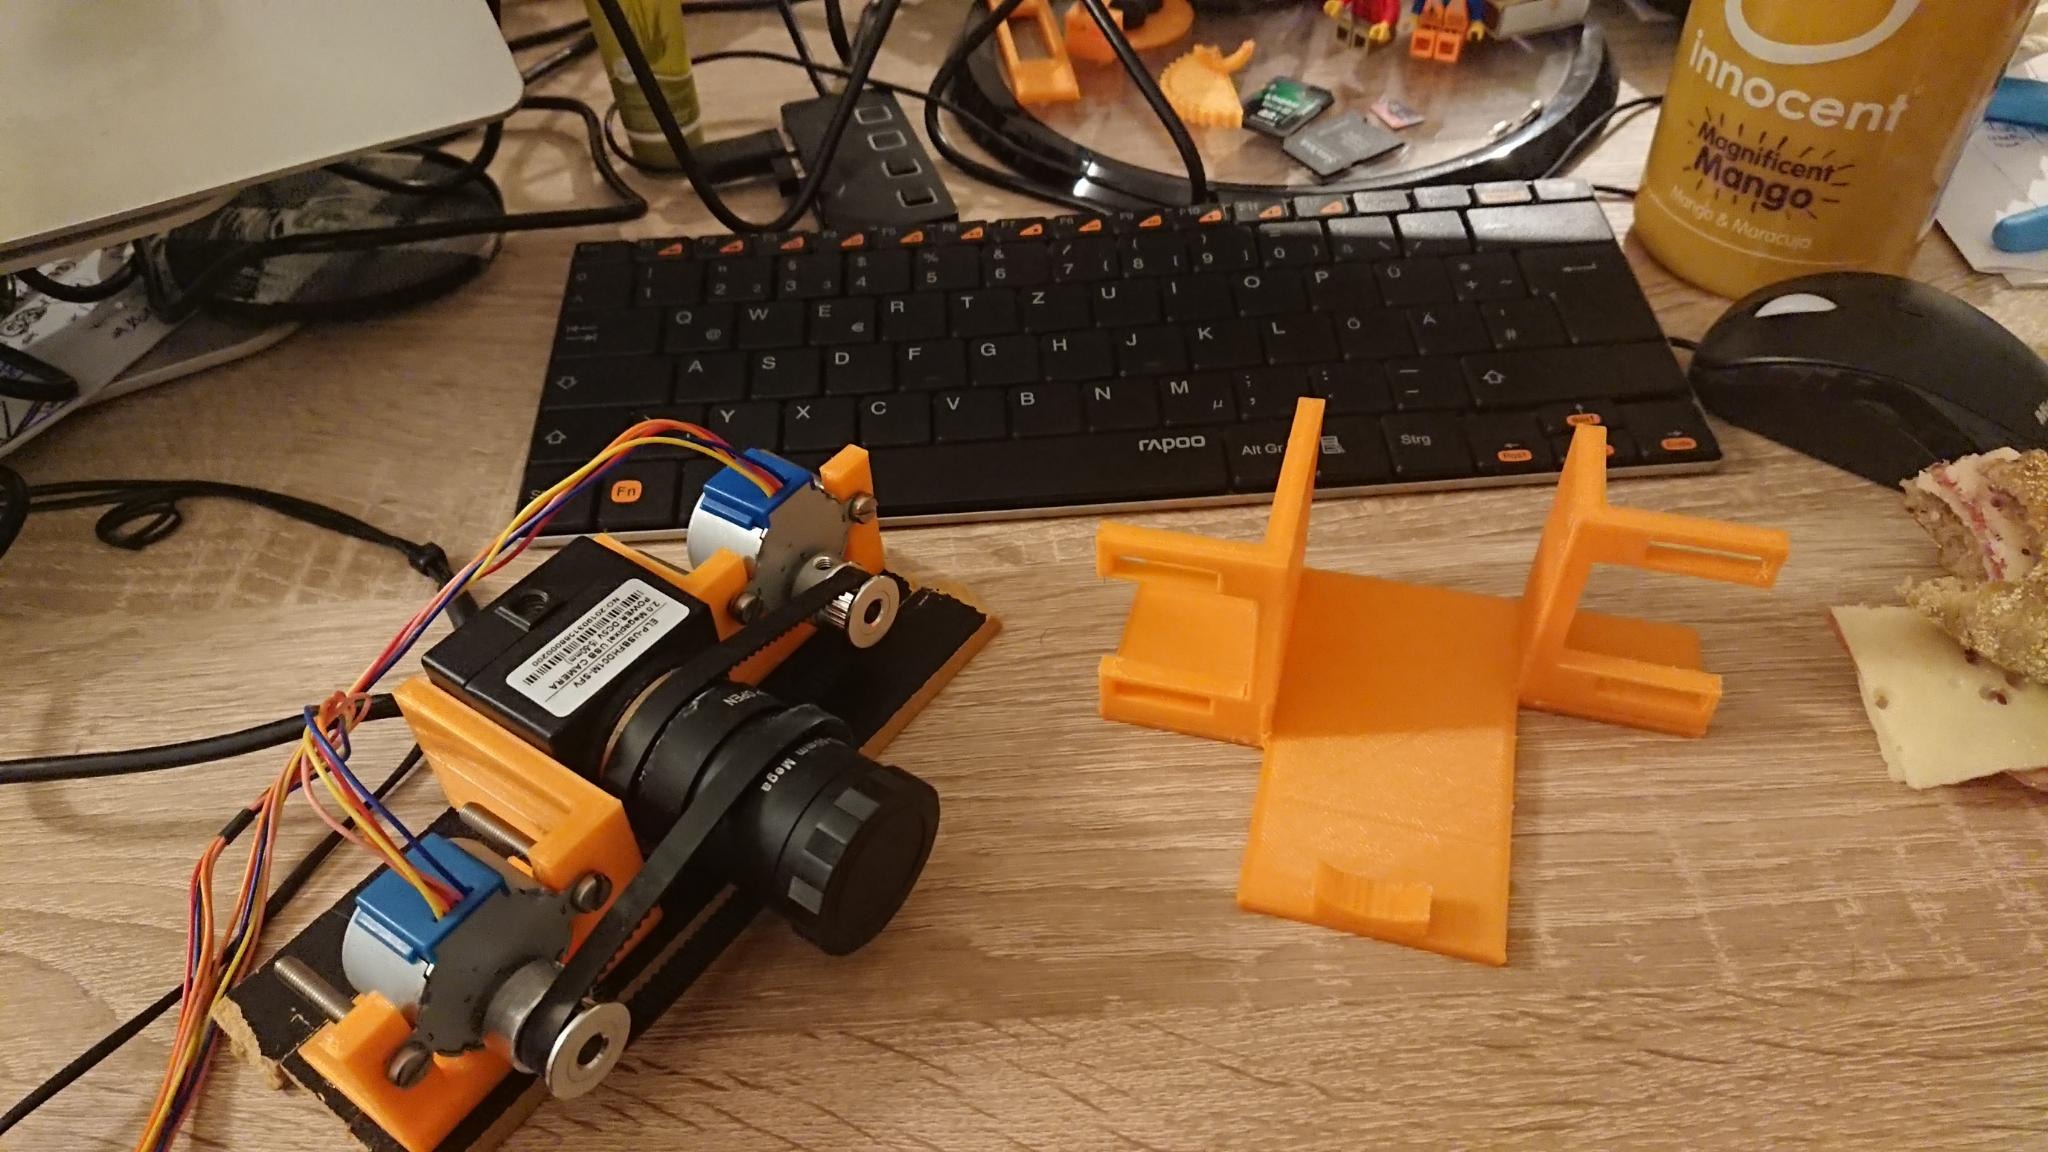
This is only to control Zoom & Focus. But the idea is to mount later the camera over some platform with two other motors to control the pan and tilt.
To make it work I write another program that changes the zoom of the camera (moving one motor) and then tries to focus the image (moving the other motor). I use OpenCV to measure how blurry the image is and try to use the focus motor to make it sharp again. I can make it work, but it's way too slow. It turns out that efficient zoom & focus is quite a difficult problem to solve.
In the meantime, summer seems to start arriving to Berlin. I start preparing my balcony with flowers for the bees to come and feast:

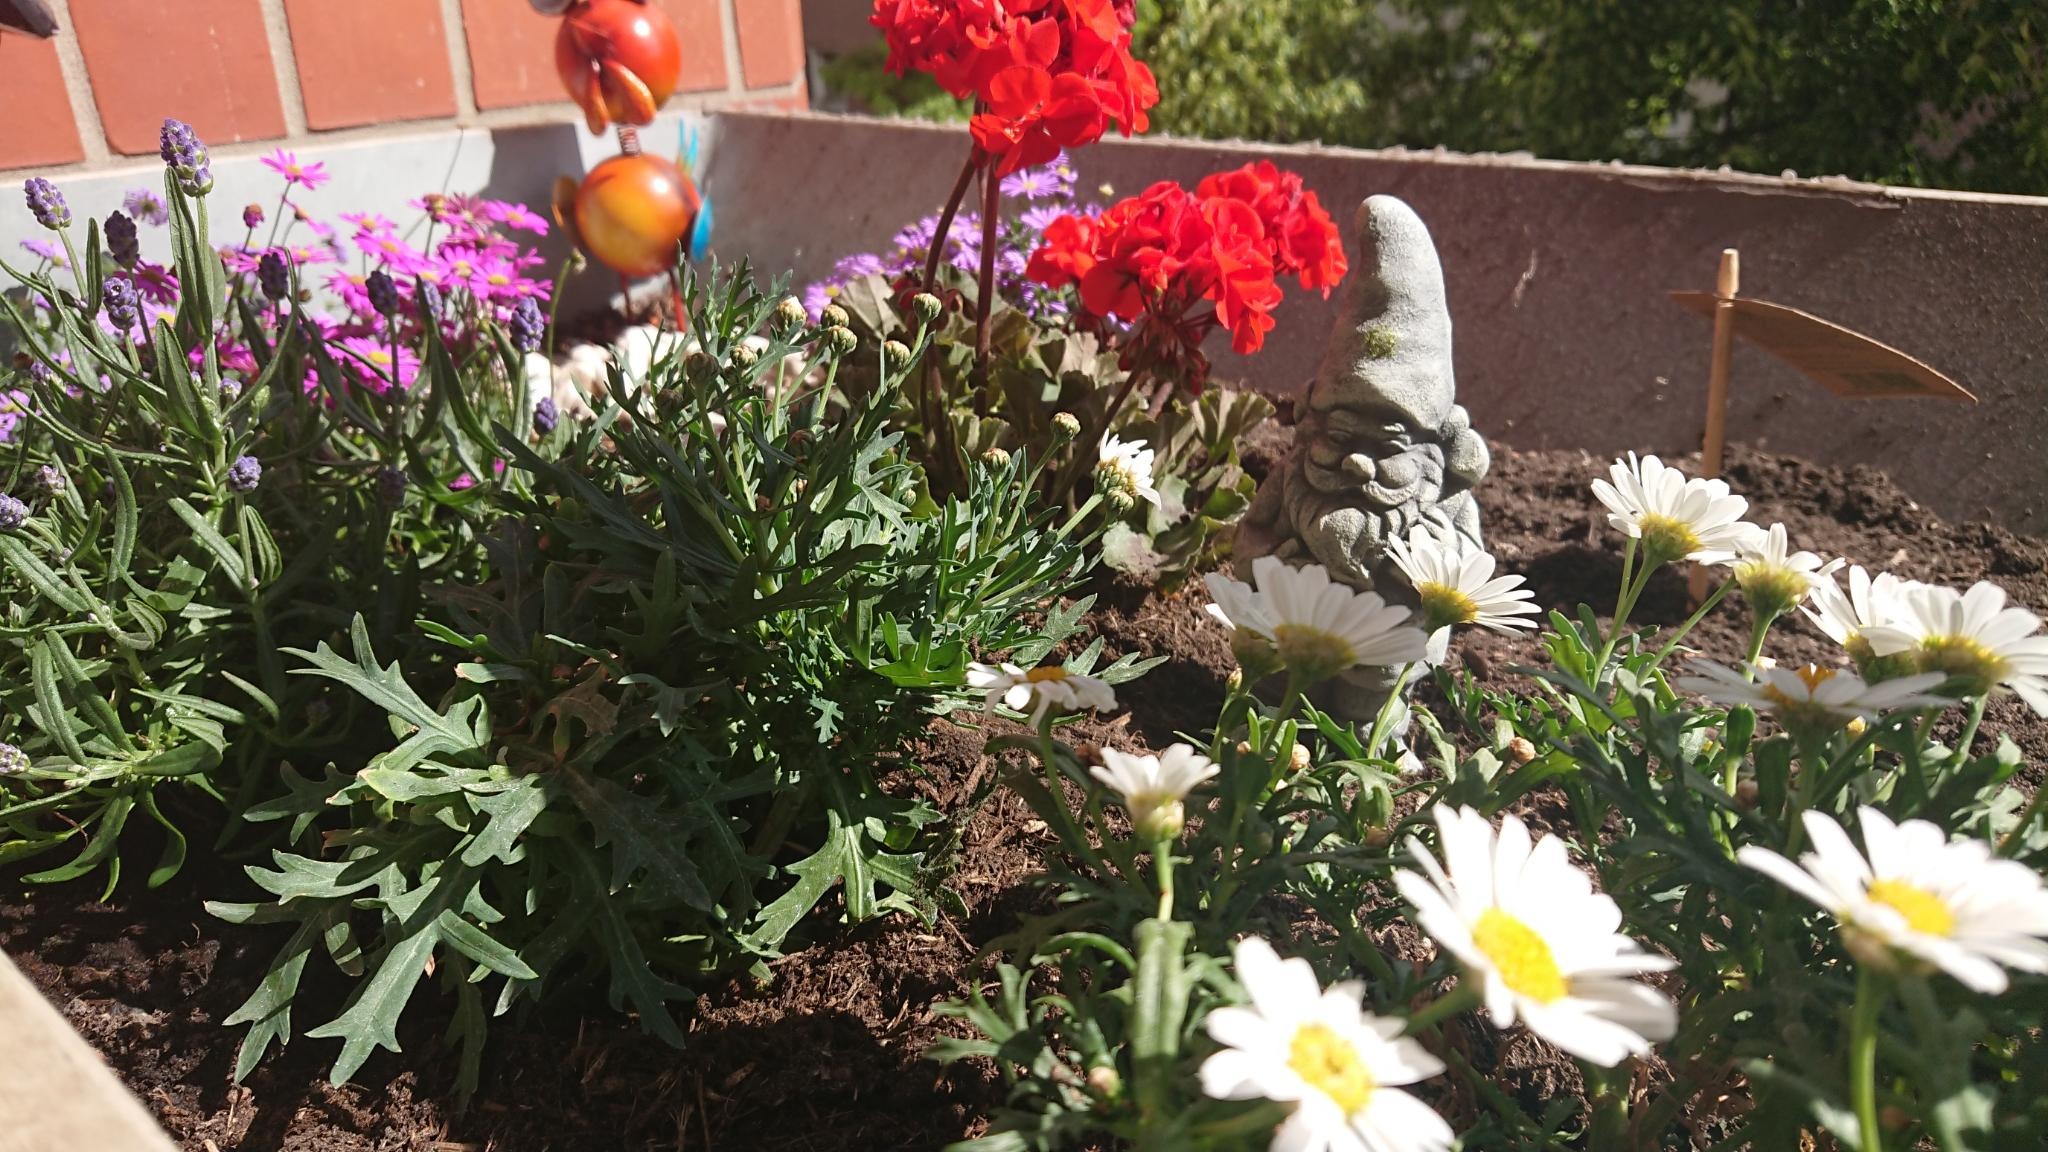

I start getting some visitors:
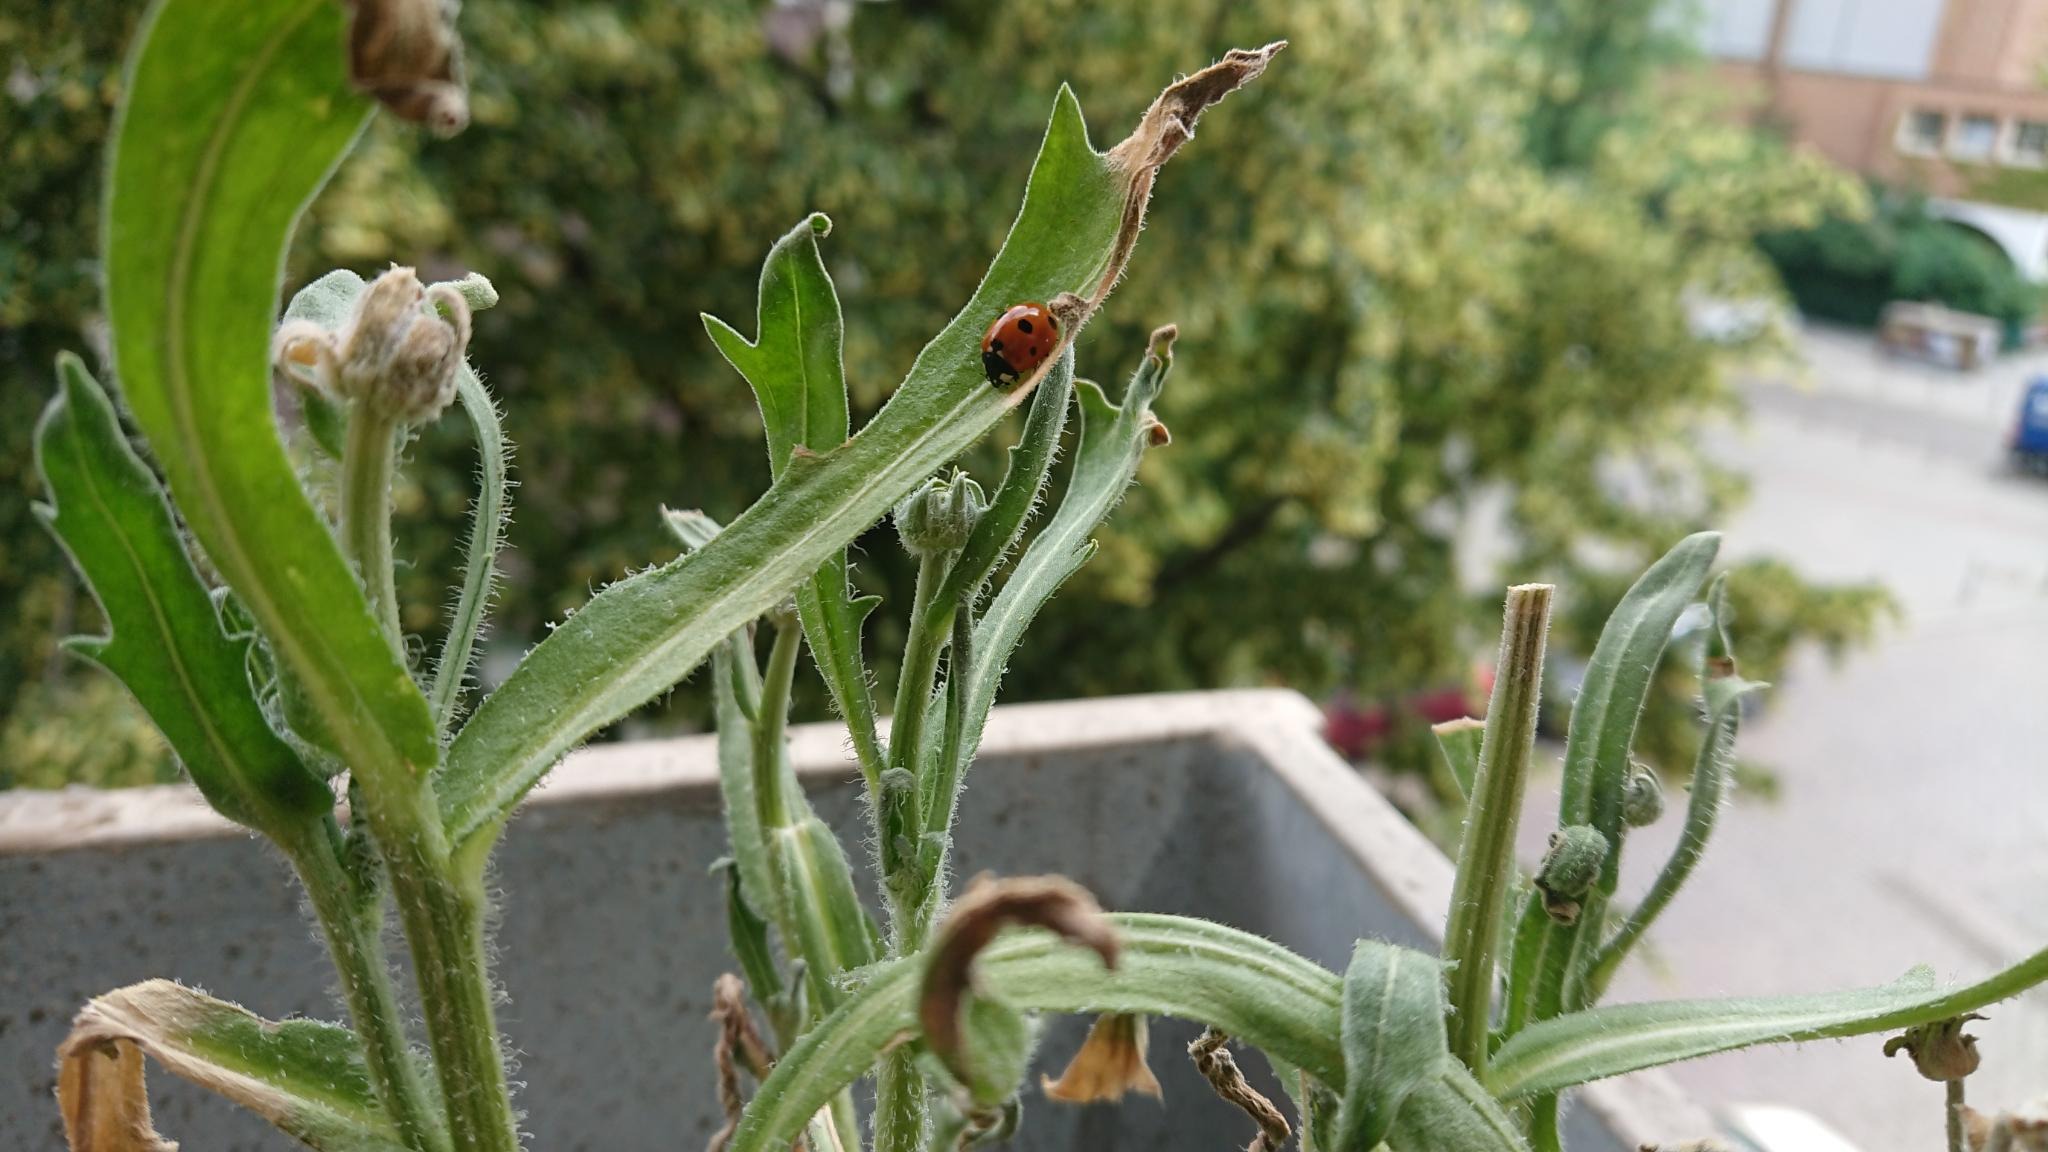
I prepare drinking places for the Bees:

And record some cute Bee footage for future image recognition:
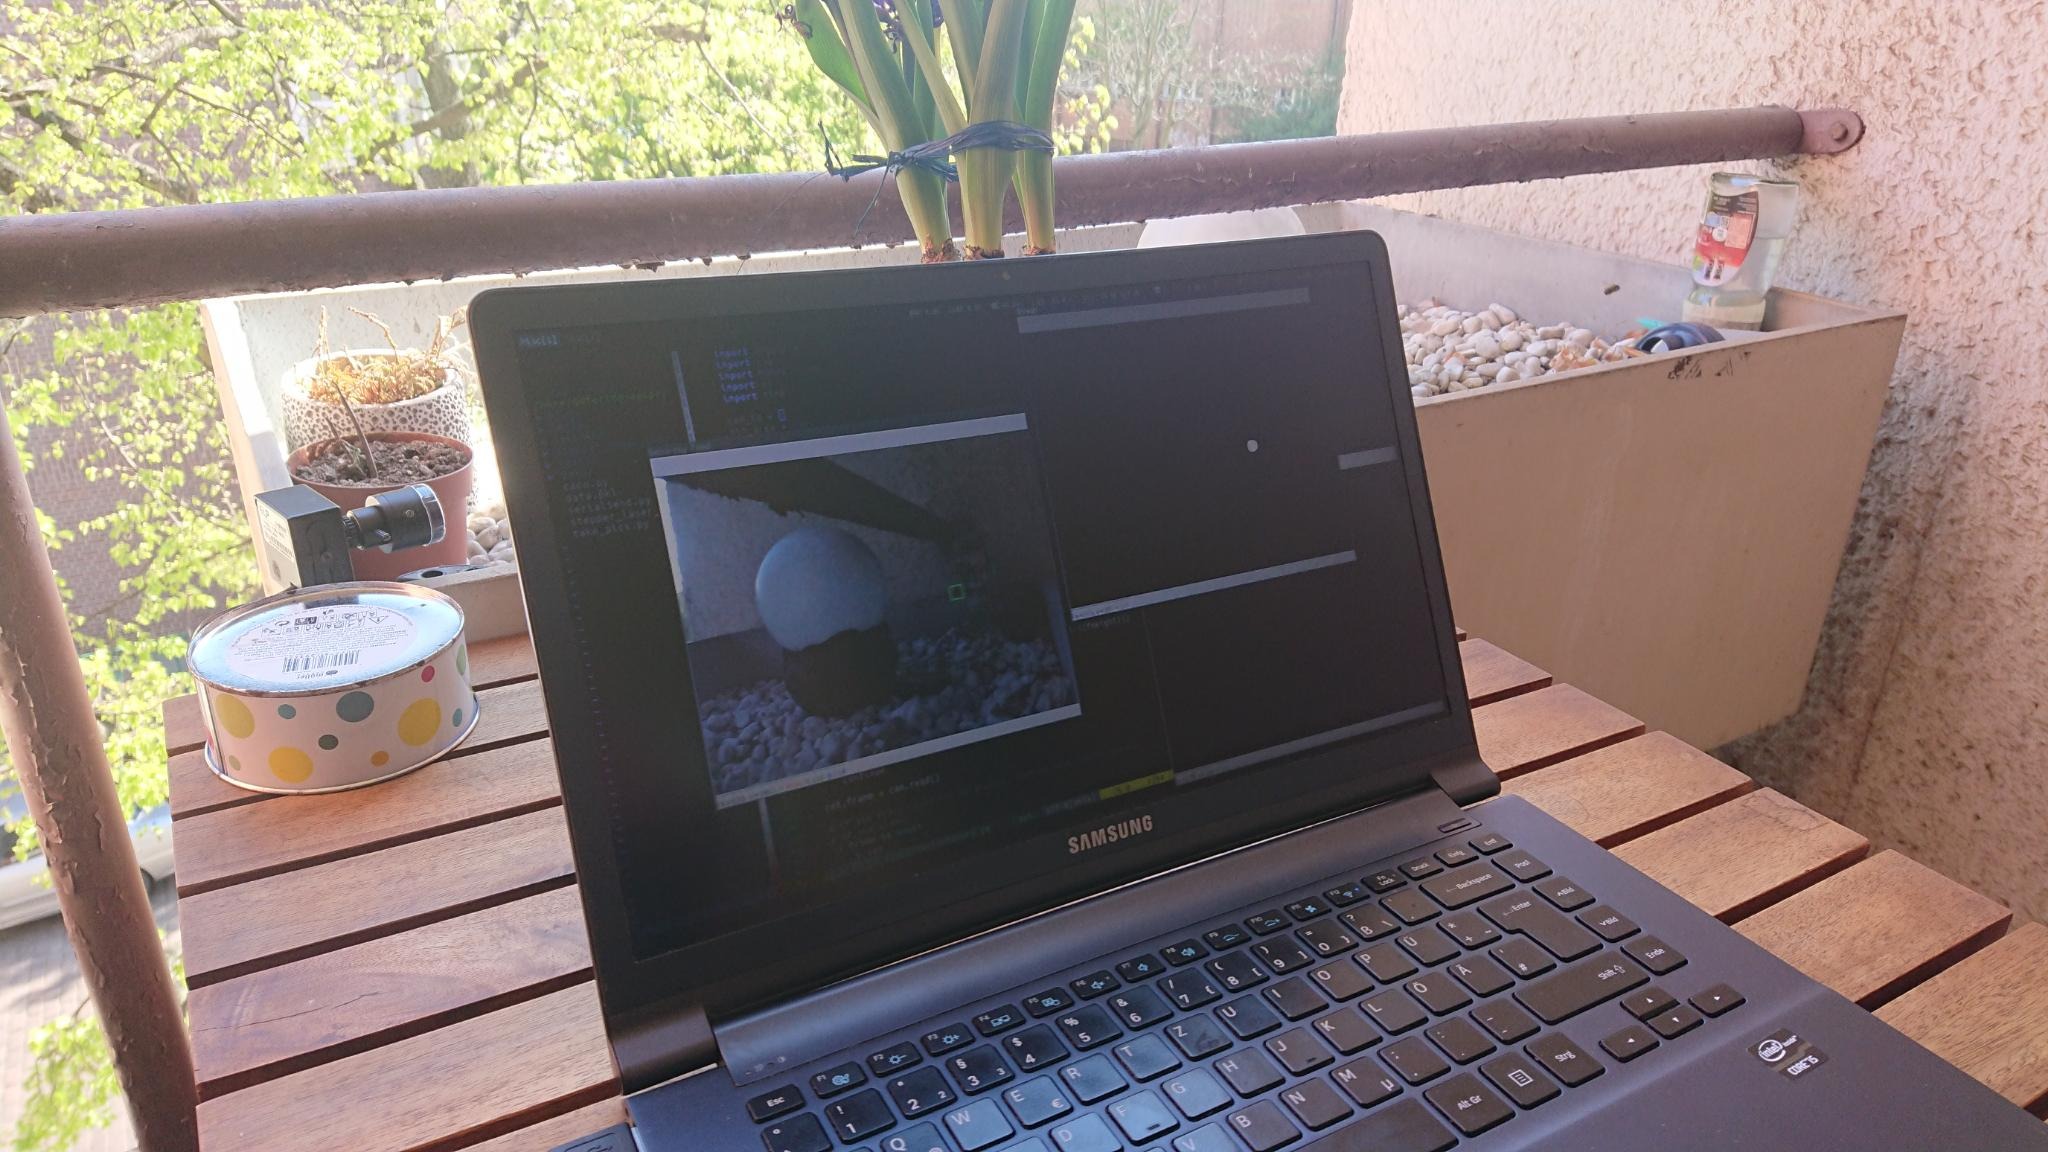
My engineer friend Mesieur Pableau Montenoir visits me in Berlin. I tell him about the project, and how stuck I am with the zoom & focus problem. He gives me some perspective: before I was trying to hit wasps with a laser, now I'm trying to solve a very complex problem in my very low-cost lab, when Nikon and Canon needed to invest millions to get it properly solved.
He's so fucking right. I completely lost perspective. Classic me, let's be honest. I decide to focus on short distance detection, so I don't need zoom & focus.
The idea is to have the laser protecting the Bee hive, with the camera pointing at the entrance, and the laser burning any Asian wasp that tries to get in to mess around.
There are other variations to fight them, but I will always need to be able to locate them in a 3D space, and move the laser effectively.
In short distances, to triangulate the position of the target I need a second camera. So I get a second camera. Then, the cameras need to be aware of how they are positioned (relative to each other) and how much their lenses may be distorting reality (like a fish eye lens). To solve that I make a program that uses the chessboard trick for both cameras calculating in real time their distortion and their relative positions:
In the video above you can see the original footage of each camera, the detection of all "chessboard" squares, and a real time 3D representation of the chess, which I did with a cool python library that mimics Three.js library. The red square in the 3D scene would be the origin of coordinates, which, to simplify computing, it's just the 3D position of one of the cameras.
I finish this part in August 2019. For the next 6 months I will have to stop working on this project to focus on my Masters project. I studied IT Security (specialized in networking and operating systems), nothing laser nor wasps related. I'm also still working full time for Versus. I have to go to the office every day. So I only have some time in some evenings for these things. Versus, Master and lasers, not compatible.
I graduate in February 2020. With a 9 over 10 (high five) (applause).
Before retaking the waspr project I go to pay a visit to my family and friends in Spain. But that week... corona happens. I get trapped in the country. At my parents'. No cameras, no lasers, no motors, no 3D printers. No piano, no PlayStation. Only my teenager bed, a small desk, and my laptop for remote working.
No big deal, I trust our world leaders. I am certain that they will quickly coordinate and find a good world wide solution to this shared problem.
Several weeks pass. Looks like the situation is taking just a little bit longer than the two weeks our president initially predicted. So, in case this situation takes (maybe) another two more weeks, instead of getting new cameras to continue with the project I decide to use again the Three.py library to create a 3D simulation of my cameras, the chessboard, and just keep working on this simulated world.
The system now gets the images from the simulated cameras, finds the simulated chessboard and does the calibration same as before:
Finally, I simulated a simple wasp (yellow cube) and a laser pointing downwards (meant to be above the wasp). The system then (a) gets the two images, (b) finds the wasp in both images, (c) creates an internal 3D representation of the scene to know where the wasp is in the third dimension, and (d) moves the laser to point to the wasp:
In the video above, I control the movement of the wasp with the arrow keys. The system draws a thin blue circle around the "wasp", and a yellowish tiny circle around the laser pointer to indicate it knows where everything is. The laser pointer successfully follows the shadow of the "wasp", which means it stays above the wasp at all times.
Ok! Looks like aiming is kinda solved. Time to research about lasers.
And this is why I abandoned the project. After some research about lasers, it turns out that the kind of laser I need is so powerful that not only if it hits me in the eye, but even if I look at its reflection on the wall, it would close the curtains forever.
So yeah. I'm happy with how far the project got. I've been hit by the (low-power) laser almost every day. Bugs in the code have made the laser aiming to go crazy at every stage. I think it's also wise to know when to stop.
As I look back on this crazy journey, and the amount of knowledge gained during the endeavour, I can conclude that I'm extremely happy with how this project unfolded. It's been quite the adventure!
If at some point in the future, someone, several hops away, in the vast lands of the internet, ends up reading this with joy, and decides to join forces to save the bees one way or another, or gets inspired to embark on their own project, maybe with a better budget, more experience, better labs, better future technology... then this writing and the entire project would be an absolute triumph.
Final thoughts
Zoom & Focus is a difficult problem, but Pan & Tilt is not. I could have bought a cheap camera with autofocus, and just mount it for the pan & tilt. Maybe for future projects.
I have since seen a few similar projects, also to protect bees, or to kill mosquitos (both with lasers) TODO: put links here.
If anyone really gets interested in the details, I'd be happy to get in touch and share experiences.
I decided to abandon this project because of the laser danger, but most of the gathered knowledge has already been used on other projects, like the angry-birds project.